Water Bath Canning for Beginners: 10 Easy Steps to Safe Food Preservation
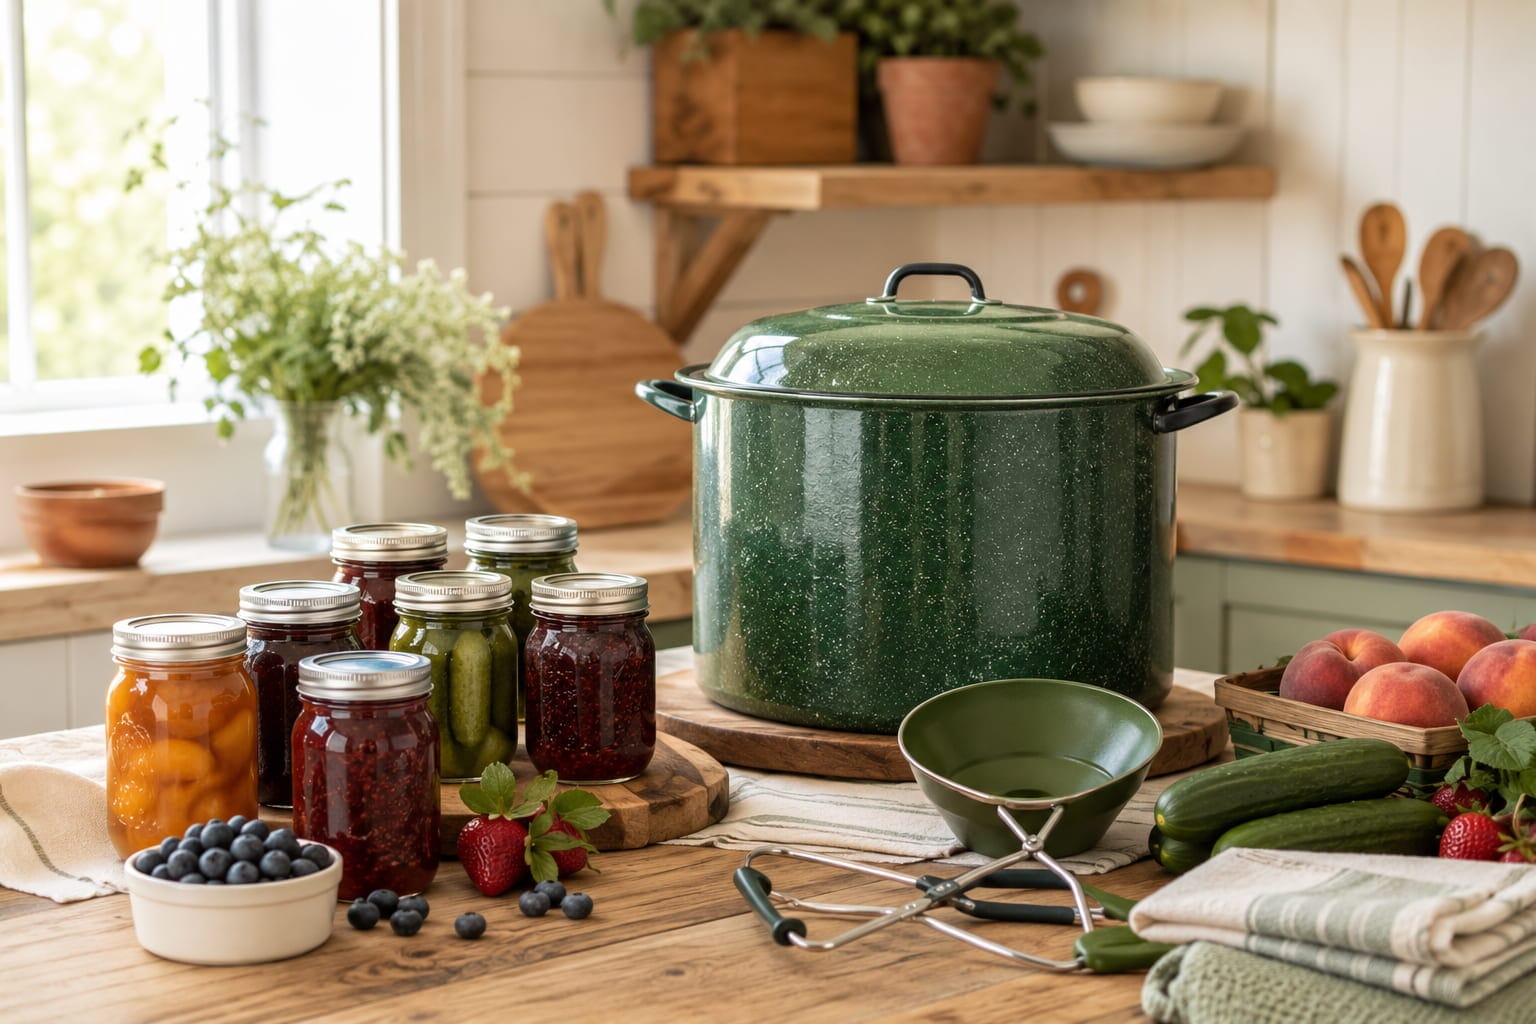
Water bath canning for beginners becomes much easier to understand once you separate the basic process from the product-specific recipe. The general method involves filling jars with an approved high-acid food, covering the closed jars with boiling water, processing them for a tested amount of time, and allowing them to cool until a vacuum seal forms.
However, boiling jars is not enough to make every food shelf-stable. Water bath canning is appropriate only for foods with enough natural or added acidity and only when you follow a current research-tested recipe. This guide walks you through the complete process in 10 practical steps while explaining the safety decisions that must come before the jars enter the canner.
In Short
Water bath canning is used for properly prepared high-acid foods such as many fruits, jams, jellies, pickles, relishes, and acidified tomato products. Choose a current research-tested recipe, use the exact ingredients and jar size it specifies, adjust the processing time for your elevation, keep the jars covered with boiling water throughout processing, and cool them undisturbed for 12–24 hours before testing the seals.
Key Takeaways
- Water bath canning is for tested high-acid or properly acidified foods—not plain vegetables, meat, poultry, seafood, or other low-acid foods.
- The recipe determines the ingredients, preparation method, headspace, jar size, processing time, and altitude adjustment.
- Processing time begins only after the water returns to a vigorous boil.
- If the water stops boiling during processing, return it to a vigorous boil and restart the full processing time.
- Cool jars upright and undisturbed for 12–24 hours before removing the bands and checking the seals.
What Is Water Bath Canning?
Water bath canning, also called boiling-water canning, is a heat-processing method for making suitable foods shelf-stable in sealed glass jars. Filled jars are placed on a rack inside a covered canner and surrounded by vigorously boiling water for the time specified in a tested recipe.
The heat destroys many molds, yeasts, enzymes, and bacteria that can spoil acidic foods. Heating also drives air out of the jar. As the jar cools, its contents contract and pull the flat lid downward, creating a vacuum seal.
A vacuum seal alone does not prove that food was processed safely. A jar can seal even when the wrong ingredients, method, temperature, or processing time were used. Safety depends on the complete tested process, not simply on whether the lid makes a popping sound.
Which Foods Can Be Water Bath Canned?
Water bath canning is intended for high-acid foods and foods that have been acidified according to a tested recipe. Common examples include many fruits, jams, jellies, fruit spreads, properly formulated pickles, relishes, chutneys, and some tomato products.
Tomatoes sit near the dividing line between high- and low-acid foods. USDA-style tomato-canning directions generally require bottled lemon juice, citric acid, or another specified acid in each jar, even when the recipe provides a boiling-water option. Follow the acidification quantities in the selected recipe exactly.
Water bath canning is not safe for every food
Plain vegetables, beans, corn, soups, meat, poultry, seafood, and other low-acid foods require a research-tested pressure-canning process unless they are acidified by a tested pickling recipe. A boiling-water canner cannot reach the temperature needed for ordinary low-acid canning. Never choose the canning method from appearance, taste, tradition, or whether a jar seals.
| Food type | Typical examples | Suitable method | Important qualification |
|---|---|---|---|
| High-acid fruit products | Many fruits, jams and jellies | Water bath canning when a tested recipe allows it | Use the specified jar size, headspace and processing time |
| Properly acidified foods | Pickles, relishes and acidified tomatoes | Water bath canning when directed | Do not reduce the specified vinegar, bottled lemon juice or citric acid |
| Low-acid foods | Plain vegetables, meat, poultry, seafood and many soups | Pressure canning | Use a tested pressure-canning recipe and elevation-appropriate pressure |
| Untested mixtures | Original sauces, purees and family recipes without validated directions | Refrigerate, freeze or obtain a tested equivalent | A sealed jar does not make an untested formula safe |
If you are still comparing preservation methods, the Dreamsteading guide to beginner food-preservation methods explains when canning, freezing, dehydrating, fermenting, and other approaches are most appropriate.
Equipment You Need
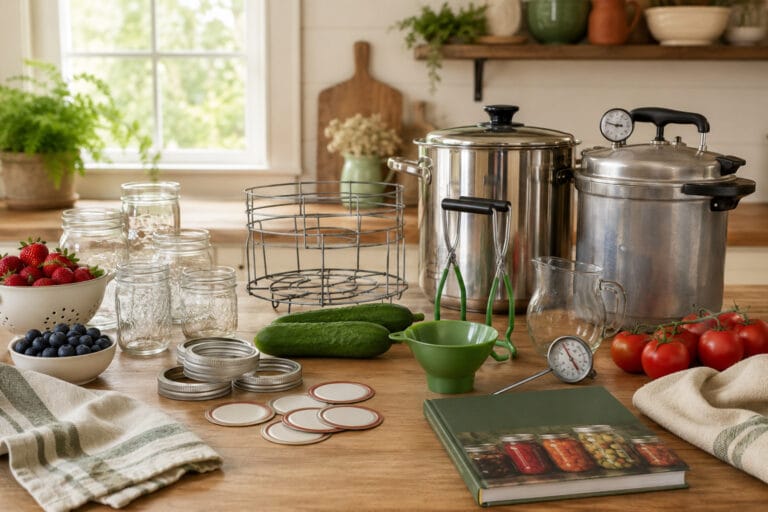
You do not need an elaborate kitchen, but you do need equipment designed for the heat, water depth, and weight involved. A purpose-made water-bath canner with a fitted rack is the simplest option. A deep stockpot may work when it has a secure lid, includes a rack that keeps jars off the bottom, and is deep enough to maintain the required water coverage above the jars.
- Boiling-water canner or sufficiently deep lidded stockpot
- Rack that fits inside the pot
- Home-canning jars without cracks, chips, or damaged rims
- New compatible flat lids
- Clean, undamaged screw bands
- Jar lifter designed to grip jars securely
- Canning funnel
- Plastic or nonmetallic bubble-removal tool
- Headspace measuring tool or clean ruler
- Clean towels or cooling racks
- Timer
- Separate utensils required by the selected recipe
A compact canning tool set with a jar lifter, funnel, and bubble remover can be convenient for a first setup. The jar lifter is especially important because ordinary kitchen tongs do not grip wet, heavy jars securely.
The broader guide to home canning essentials can help you distinguish basic equipment from optional accessories before you buy supplies.
Water Bath Canning in 10 Steps
1. Select a Current Research-Tested Recipe
Begin with a recipe published by the USDA, the National Center for Home Food Preservation, a university Cooperative Extension service, or another source that bases its directions on validated processing research.
Read the entire recipe before preparing the food. Confirm the required produce condition, ingredient quantities, acid type, vinegar strength, preparation method, pack style, jar size, headspace, processing time, and altitude adjustment.
Do not use the processing time from one recipe with the ingredients from another. Seemingly small changes—such as thickening a sauce, adding extra vegetables, reducing vinegar, changing the jar size, or pureeing a chunky product—can alter how heat moves through the food.
2. Determine Your Elevation and Processing Time
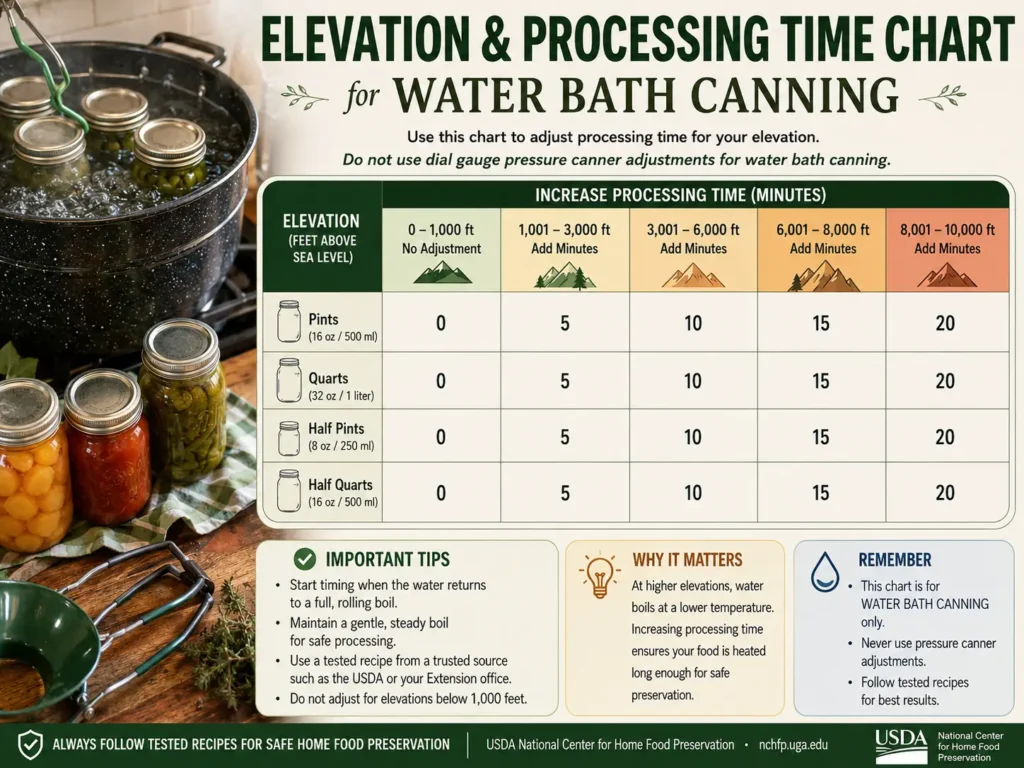
Water boils at a lower temperature as elevation increases. For that reason, boiling-water canning recipes require longer processing at higher elevations. Find your elevation before you start and select the appropriate time from the recipe’s processing table.
Many directions change above 1,000 feet, but the exact adjustment must come from the chosen recipe. Do not create a general adjustment from memory or assume that every product uses the same processing table.
Write the correct time on a note where you can see it. This prevents accidentally using the sea-level time after the jars are loaded.
3. Inspect the Equipment and Prepare the Canner
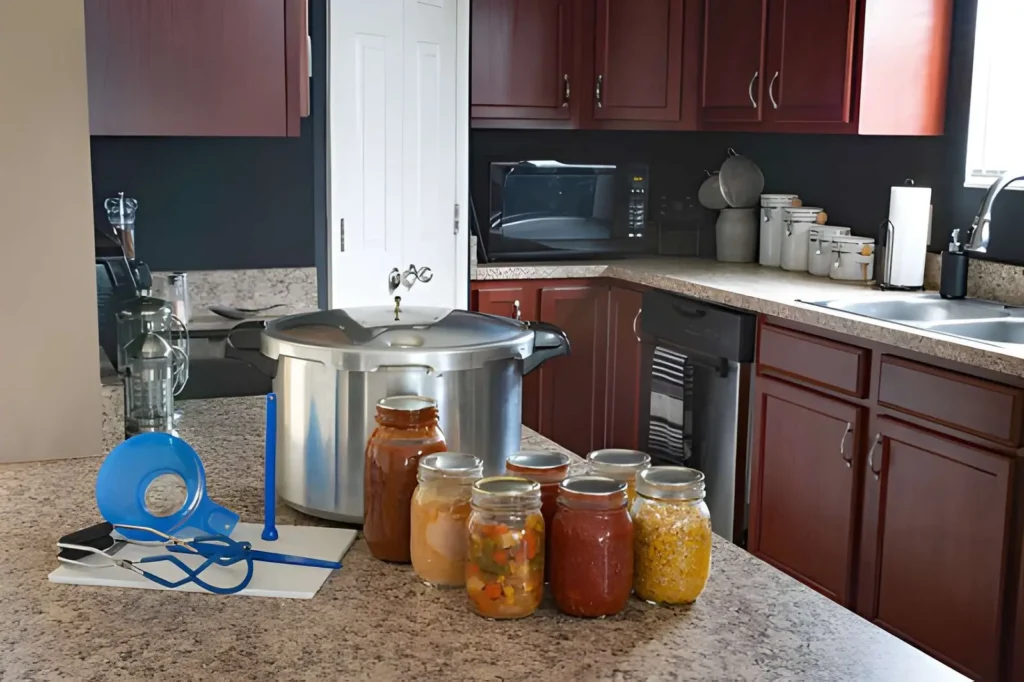
Check the canner, rack, jars, lids, and bands before heating anything. Do not use a jar with a crack, chip, or damaged sealing surface. Discard deformed or rusty bands that cannot hold a lid evenly.
Place the rack in the canner and begin heating the amount of water appropriate for your recipe and pack style. The canner should be large enough for water to cover the filled jars by at least 1 inch. For processing times longer than 30 minutes, the National Center for Home Food Preservation specifies at least 2 inches above the jar tops.
Avoid placing jars directly on the pot bottom. The rack promotes water circulation and reduces direct contact between the glass and the heated metal surface.
4. Wash and Preheat the Jars
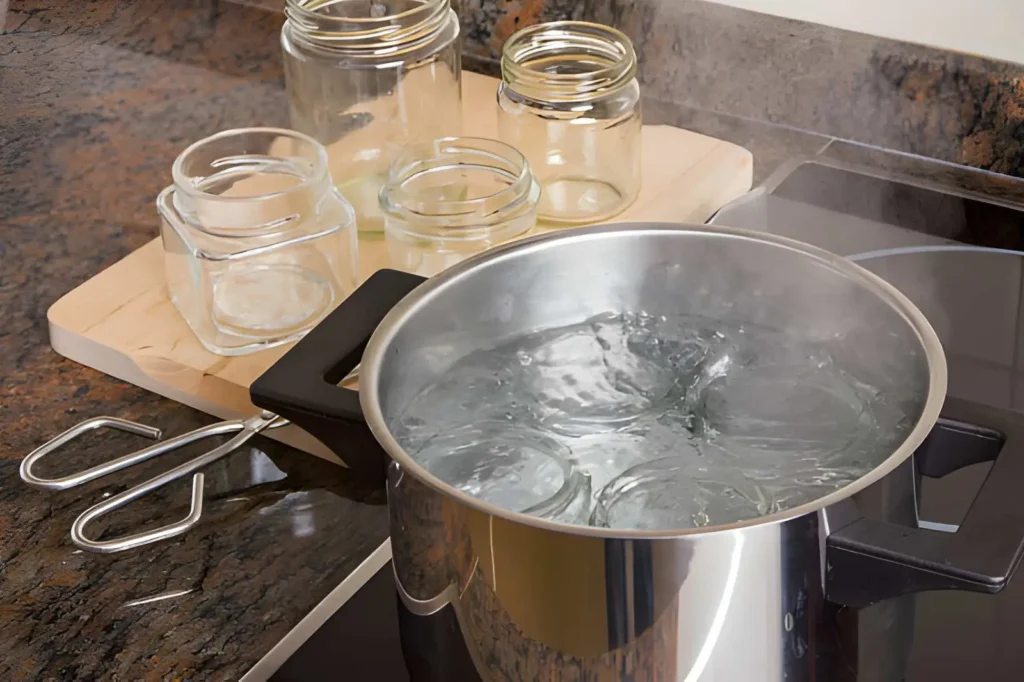
Wash jars in hot, soapy water and rinse them well, or clean them in a dishwasher. Keep clean jars hot until they are filled to reduce the risk of thermal shock when hot food and boiling water are introduced.
If the tested recipe processes jars for less than 10 minutes, empty jars must be sterilized first. The NCHFP method is to boil them for 10 minutes below 1,000 feet, adding one minute for every additional 1,000 feet of elevation. Jars processed for 10 minutes or longer do not normally require separate presterilization, although they must still be clean and hot.
Prepare the flat lids according to the current manufacturer’s directions. Lid designs differ, so do not automatically boil or simmer lids based on an older family routine. Use compatible home-canning jars and new flat lids intended for heat processing and vacuum sealing.
5. Prepare the Food Exactly as Directed
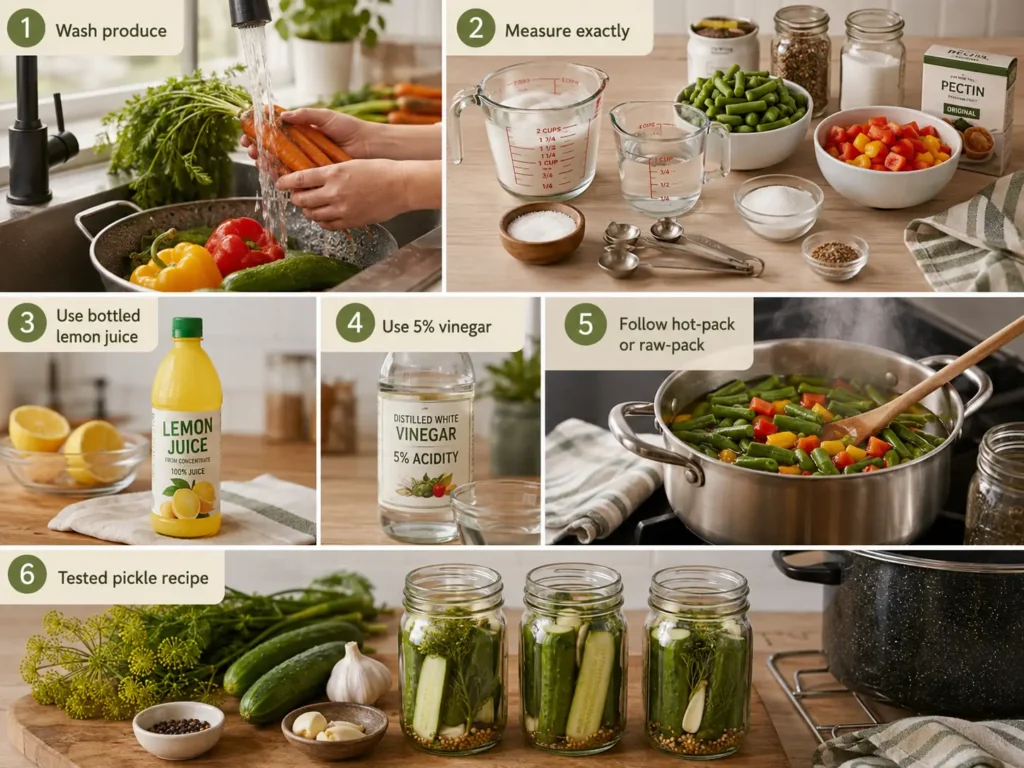
Wash produce thoroughly and prepare it according to the recipe. Use sound, good-quality ingredients at the maturity the directions specify. Measure ingredients accurately, including acids, water, salt, sugar, pectin, spices, and vegetables.
When a recipe calls for bottled lemon juice, use bottled juice rather than fresh juice because commercial bottled juice provides more standardized acidity. When a pickling recipe specifies vinegar with 5% acidity, verify that strength on the label and do not dilute it beyond the recipe’s directions.
Follow the stated hot-pack or raw-pack method. Hot packing generally removes more air from food, reduces floating, and often improves stored quality, but it cannot replace the method specified in the recipe.
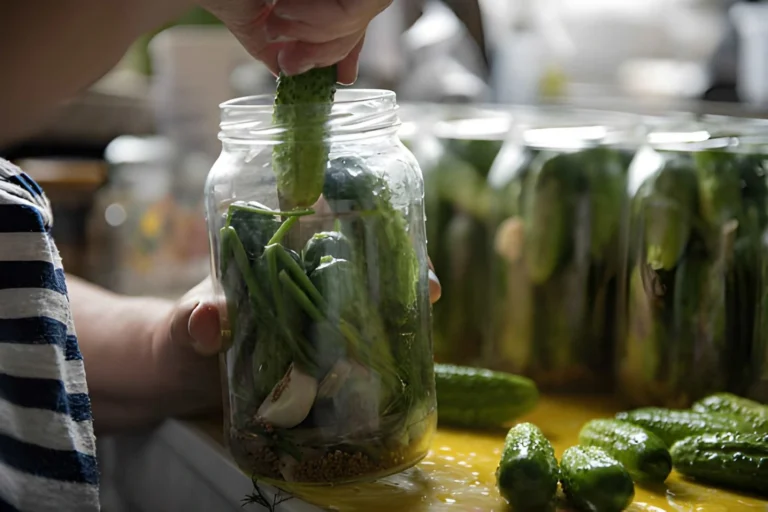
For a practical first project, consider a tested pickle recipe. The guide to making pickles for beginners explains the preparation choices that affect flavor, texture, and preservation.
6. Fill the Jars and Apply the Lids
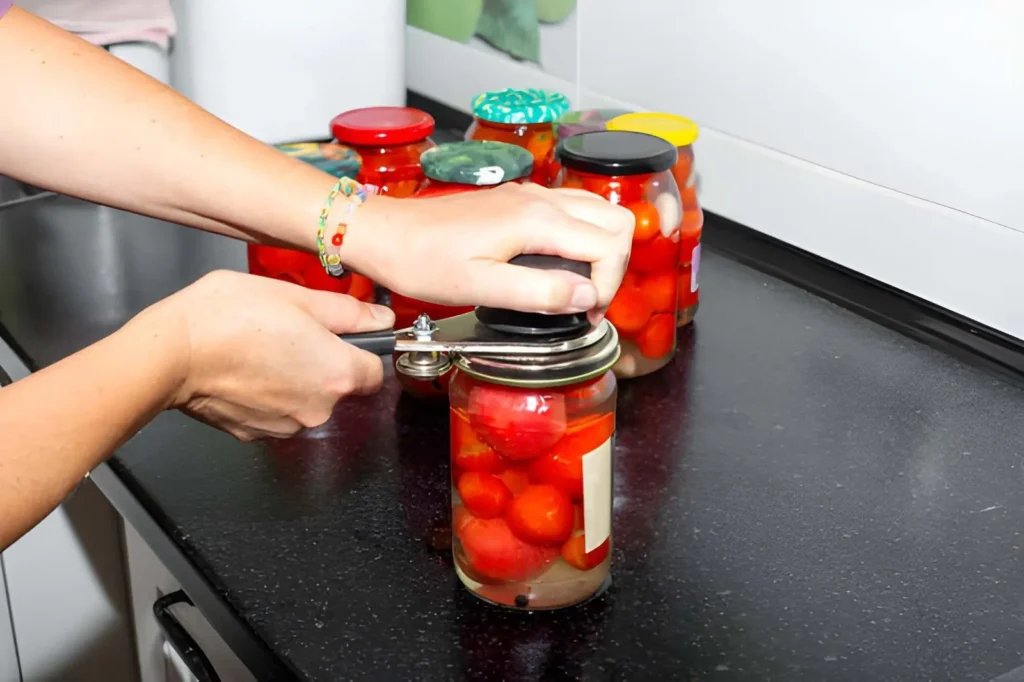
Remove one hot jar at a time and place it on a protected work surface. Add the food and covering liquid as directed, leaving the exact headspace specified in the recipe. Headspace is the empty distance between the top of the food or liquid and the jar rim.
Too little headspace may cause food to escape and interfere with the seal. Too much can leave excess air in the jar and may prevent the recipe’s processing time from exhausting enough air to form a strong vacuum.
Unless the product is a jam, jelly, or another liquid for which the directions say bubble removal is unnecessary, slide a nonmetallic utensil around the inside of the jar to release trapped air. Recheck the headspace and add more food or liquid if the tested recipe permits it.
Wipe the rim with a clean, damp paper towel so no seeds, syrup, grease, or food particles remain on the sealing surface. Center the prepared flat lid on the jar and apply the band according to the lid manufacturer’s directions—usually fingertip-tight rather than forcefully tightened.
7. Load the Canner and Check the Water Level
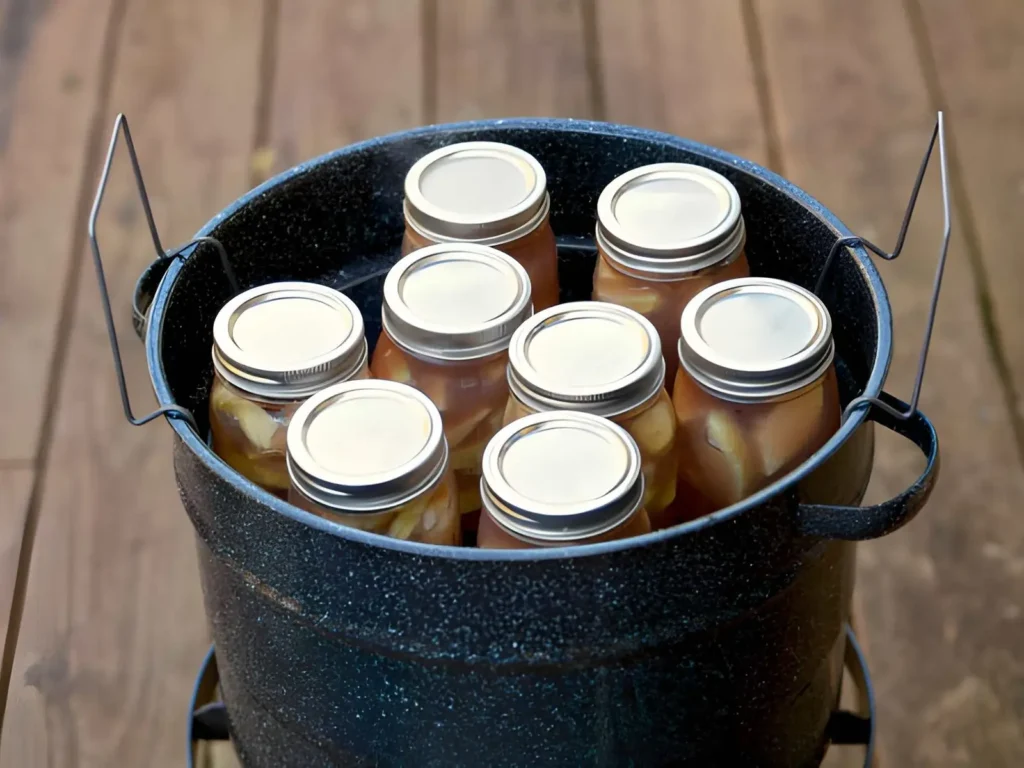
Use the jar lifter to place each jar upright on the rack. Position the lifter below the screw band and keep the jar vertical. Tilting a filled jar can allow food to enter the sealing area.
Leave room for water to circulate around the jars. Add boiling water if necessary until it reaches at least 1 inch above the jar tops—or at least 2 inches when the specified processing time exceeds 30 minutes.
Put the lid on the canner and turn the heat high enough to bring the water to a vigorous boil.
8. Process for the Full Tested Time
Start the timer only after the water reaches a vigorous boil. Maintain a complete boil for the entire processing period while keeping the canner covered. You may reduce the burner slightly if the water continues to boil steadily.
Monitor the water level and add more boiling water if needed without pouring directly onto the jars. The jar tops must remain covered by the required depth throughout processing.
Restart timing if boiling stops
If the water stops boiling at any point during processing, bring it back to a vigorous boil and restart the complete processing time from the beginning. Do not count time spent below a full boil.
9. Turn Off the Heat and Remove the Jars Safely
When the processing time is complete, turn off the heat and remove the canner lid. Open the lid away from your face and arms so the rising steam moves in the opposite direction.
Wait five minutes before removing the jars. Then lift each jar straight up without tipping it or tightening the band. Place the jars upright on a dry towel or cooling rack, leaving at least 1 inch of space between them.
Do not place hot jars directly on a cold, wet, or heat-sensitive surface. Do not press the lids, retighten the bands, invert the jars, or cover them with a heavy towel.
10. Cool, Test, Label, and Store the Jars
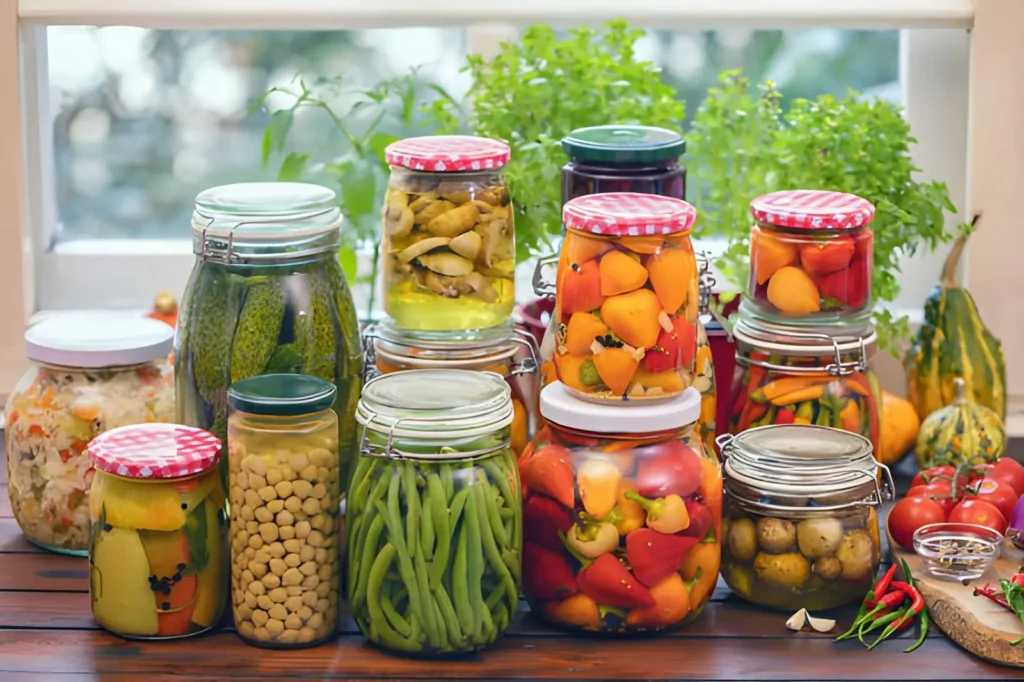
Let the jars cool upright and undisturbed at room temperature for 12–24 hours. After cooling, remove the screw bands and examine each seal. A properly sealed two-piece lid should be slightly concave and should not flex up and down when pressed in the center.
If a jar did not seal, refrigerate it promptly and use it within an appropriate refrigerated period, freeze it in a freezer-safe container with sufficient expansion space, or reprocess it within 24 hours only when the NCHFP conditions for safe reprocessing can be followed. Reprocessing reduces quality and requires a new lid and the complete tested process.
Wash residue from sealed jars without disturbing the lids. Dry, label, and date them. Waterproof pantry labels can make batch identification easier, but a permanent marker on the lid also works.
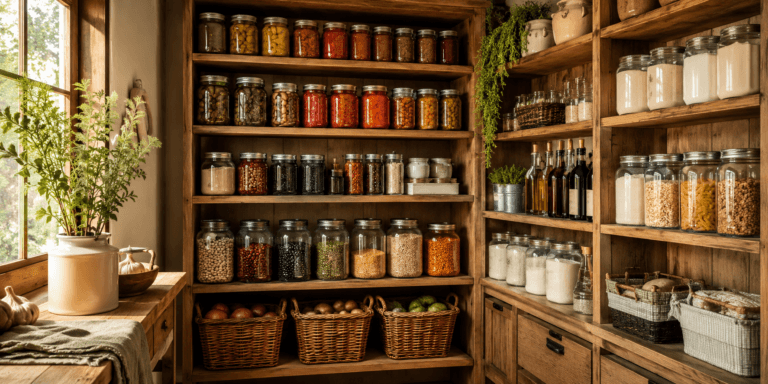
Store jars without their screw bands in a clean, cool, dark, dry location. The NCHFP recommends 50–70°F for best quality and advises canning no more food than you expect to use within about one year. The Dreamsteading food-preservation pantry guide provides additional organization ideas.
Benefits and Limitations of Water Bath Canning
Benefits
- Uses simpler and generally less expensive equipment than pressure canning.
- Works well for many fruits, jams, jellies, pickles, relishes, and acidified tomato products.
- Creates shelf-stable food when a suitable tested recipe is followed correctly.
- Allows seasonal produce to be preserved in practical jar sizes.
Considerations
- Is not suitable for plain low-acid vegetables, meat, poultry, seafood, and many mixed foods.
- Requires strict attention to acidity, jar size, headspace, processing time, and elevation.
- Can reduce texture, color, or flavor when food is overprocessed or stored in excessive heat or light.
- Requires time for preparation, processing, cooling, seal inspection, labeling, and storage.
Common Water Bath Canning Mistakes
Using an Untested Family Recipe
A traditional recipe may taste excellent without having a validated acidity level or processing schedule. Use the family recipe for refrigerated or frozen food unless you can match it to a current tested canning formula without altering the safety-critical ingredients.
Changing the Jar Size
Do not move a recipe into a larger jar unless that size and its processing time are specifically provided. Heat takes longer to reach the center of a larger jar. You may generally use a smaller jar only when a reliable source permits it and you apply at least the processing time given for the next larger approved size.
Reducing Acid or Increasing Low-Acid Ingredients
Reducing vinegar, bottled lemon juice, or citric acid can change the product’s acidity. Adding extra onions, peppers, garlic, vegetables, or thickener can also alter density and heat penetration. Make only substitutions that the tested recipe explicitly allows.
Using Inversion or Open-Kettle Canning
Filling jars and turning them upside down is not a substitute for processing. Neither is pouring hot food into jars and allowing the lids to seal without a tested heat process. Oven, microwave, dishwasher, and dry-canning methods are also not substitutes for recommended boiling-water or pressure-canning procedures.
Overtightening the Bands
Air must escape from the jar during processing. A band that is forced excessively tight can interfere with venting, buckle a lid, or contribute to seal failure. Follow the lid manufacturer’s tightening directions.
Myth
A sealed lid proves that the food is safe
Reality
A lid can form a vacuum seal even when the food was prepared with an untested recipe, processed by the wrong method, or heated for too little time. A seal is only one part of successful canning. Safety depends on the food, acidity, recipe, jar size, headspace, processing method, time, elevation adjustment, cooling, and storage conditions.
How to Recognize a Potentially Spoiled Jar
Inspect every jar before opening it. Warning signs include an unsealed or bulging lid, leakage, dried food streaks from the lid, rising bubbles, unnatural color, spurting liquid, mold, or an unusual odor after opening.
Never taste questionable home-canned food
Do not taste food from an unsealed jar or a jar showing signs of spoilage. Tasting is not a safe way to check for botulism or other hazards. Keep people and animals away from questionable food and follow current USDA or Cooperative Extension disposal guidance.
If water bath canning is not appropriate for a food or you cannot find a tested recipe that matches it, refrigeration, freezing, or dehydrating suitable foods may provide a safer alternative.
Frequently Asked Questions
Can you water bath can vegetables?
Plain low-acid vegetables such as green beans, corn, carrots, and potatoes are not suitable for water bath canning. They require a research-tested pressure-canning process. Some vegetables can be water bath canned when they are acidified in a tested pickling recipe, but the vinegar, water, vegetable quantities, jar size, and processing time must remain within that recipe.
Do jars need to be completely covered with water?
Yes. The water should remain at least 1 inch above the jar tops throughout processing. For a processing time longer than 30 minutes, the National Center for Home Food Preservation recommends at least 2 inches of water above the jars.
Do canning jars always need to be sterilized first?
Not always. Clean jars used for foods processed for 10 minutes or longer generally do not require separate presterilization. Jars used for jams, jellies, or pickled products processed for less than 10 minutes must be sterilized before filling. Always follow the selected tested recipe.
What happens if the water stops boiling during processing?
Bring the water back to a vigorous boil and restart the full processing time from the beginning. Processing time counts only while the water maintains a complete boil.
Can you reuse canning lids?
Traditional flat metal lids intended for one-time canning use should be replaced for each processing cycle. Screw bands can be reused when they remain clean, rust-free, undented, and able to hold the lid evenly. Reusable lid systems should be used only according to their manufacturer’s directions and reliable canning guidance.
What should you do when a jar does not seal?
If the failure is discovered after the 12–24-hour cooling period, refrigerate the food promptly, freeze it in a suitable container, or reprocess within 24 hours only if the original batch followed a tested recipe and safe reprocessing directions are available. Use a new lid and expect some quality loss if reprocessing.
How long should home-canned food be stored?
For best quality, the National Center for Home Food Preservation recommends canning only what you expect to use within about one year. Store sealed, labeled jars in a clean, cool, dark, dry place, preferably between 50 and 70°F. Examine every jar before opening it.
A Safe First Canning Project Starts With the Recipe
Water bath canning is a manageable food-preservation skill when every decision begins with a current research-tested recipe. Confirm that the food is suitable, determine your elevation, prepare the jars correctly, maintain the required water depth and vigorous boil, and allow the finished jars to cool undisturbed before testing their seals.
For your first batch, choose a straightforward fruit, jam, jelly, or pickle recipe from a reliable source. Read it completely, organize the equipment before heating the canner, and avoid modifying safety-critical ingredients. A calm, methodical process is more useful than trying to preserve a large quantity on the first attempt.
Continue building your preservation skills with the Dreamsteading guide to essential home-canning equipment and methods.
Sources and Further Reading
- National Center for Home Food Preservation: Recommended Canners — boiling-water canner setup, water depth, processing, jar removal, and cooling instructions.
- National Center for Home Food Preservation: Selecting the Correct Processing Time — guidance on tested processing schedules, jar sizes, pack styles, and elevation.
- National Center for Home Food Preservation: Recommended Jars and Lids — jar sterilization, lid preparation, headspace, bubble removal, and band use.
- National Center for Home Food Preservation: Cooling Jars and Testing Jar Seals — cooling time, seal testing, and options for unsealed jars.
- National Center for Home Food Preservation: Storing Home-Canned Foods — labeling, band removal, storage conditions, quality period, and spoilage checks.
- National Center for Home Food Preservation: Canning Tomatoes — acidification requirements for whole, crushed, and juiced tomatoes.
- USDA Food Safety and Inspection Service: Botulism — risks associated with improperly canned low-acid foods.