10 Reliable Home Canning Essentials for Safe and Confident Preserving
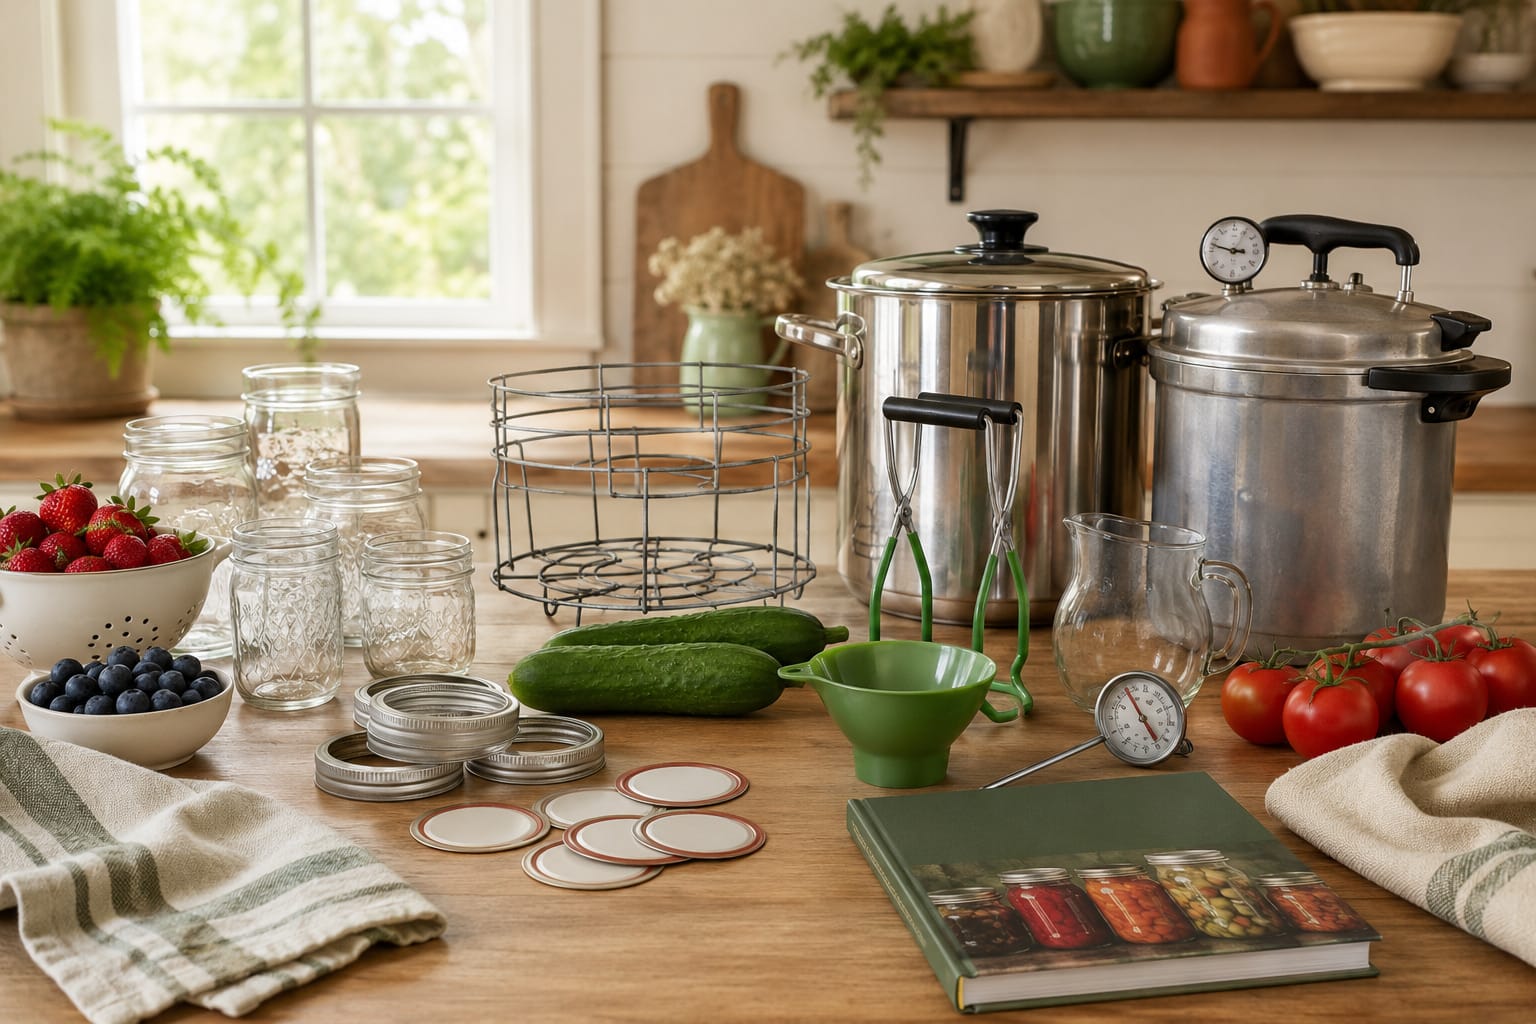
Home canning essentials are the basic tools and supplies that help you preserve food safely, confidently, and without feeling overwhelmed.
When you are new to canning, it is easy to think you need every tool in the canning aisle. You do not. You need the right tools, the right jars, the right lids, and a safe recipe from a trusted source.
That is where I always recommend beginners start.
Home canning is one of the most useful food preservation skills you can learn. It helps you preserve seasonal fruit, pickles, jams, tomatoes, vegetables, broth, meat, and pantry staples when the correct method is used.
But canning is not the same as regular cooking.
With canning, the method matters. The jar size matters. The acidity matters. The processing time matters. The equipment matters too.
If you are new to preserving food, I recommend reading Food Preservation Methods for Beginners first so you can understand how canning fits beside freezing, dehydrating, fermenting, and other simple preservation methods.
Affiliate Disclosure
This post may contain affiliate links. If you buy through these links, Dreamsteading may earn a small commission at no extra cost to you. I only recommend practical canning tools and food preservation supplies that fit a beginner-friendly homesteading kitchen.
What Is Home Canning?
Home canning is a food preservation method where food is packed into jars and processed with heat so it can be stored safely on the shelf.
The goal is to destroy harmful microorganisms, remove air from the jar, and create a strong vacuum seal.
When done correctly, canning lets you build a pantry with homemade jams, pickles, fruit, tomatoes, vegetables, beans, broths, sauces, and other preserved foods.
The important part is choosing the correct canning method for the food.
There are two main canning methods most beginners need to understand:
- Water bath canning
- Pressure canning
These methods are not interchangeable.
The type of food determines which method you need.
Water Bath Canning vs Pressure Canning
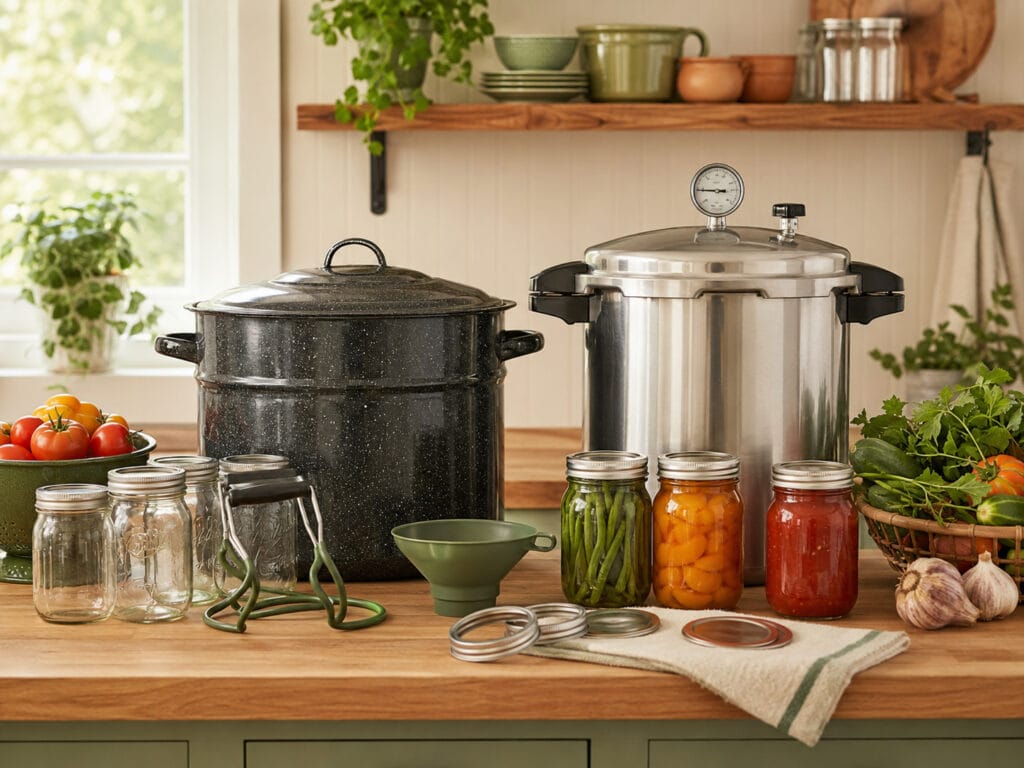
Before buying supplies, you need to understand the difference between water bath canning and pressure canning.
Water Bath Canning
Water bath canning uses boiling water to process jars.
It is used for high-acid foods and properly acidified recipes, such as:
- Jams
- Jellies
- Fruit preserves
- Applesauce
- Pickles
- Relishes
- Many fruits
- Tested tomato recipes with added acid
- Tested salsa recipes
If you are completely new to canning, water bath canning is usually the easiest place to start.
The tools are simple, the process is less intimidating, and many beginner recipes are small and manageable.
For a full beginner walkthrough, read Water Bath Canning for Beginners before your first batch.
Pressure Canning
Pressure canning is used for low-acid foods.
This includes:
- Plain vegetables
- Meat
- Poultry
- Seafood
- Beans
- Broth
- Soups
- Stews
- Most mixed low-acid foods
These foods need a pressure canner because boiling water does not get hot enough to process them safely.
This is one of the most important canning safety rules.
Do not water bath can low-acid foods. If a tested recipe says to use a pressure canner, use a pressure canner.
Essential Canning Tools
You do not need a huge collection of tools to start canning, but a few basics make the process safer and easier.
Here are the home canning essentials I recommend for beginners.
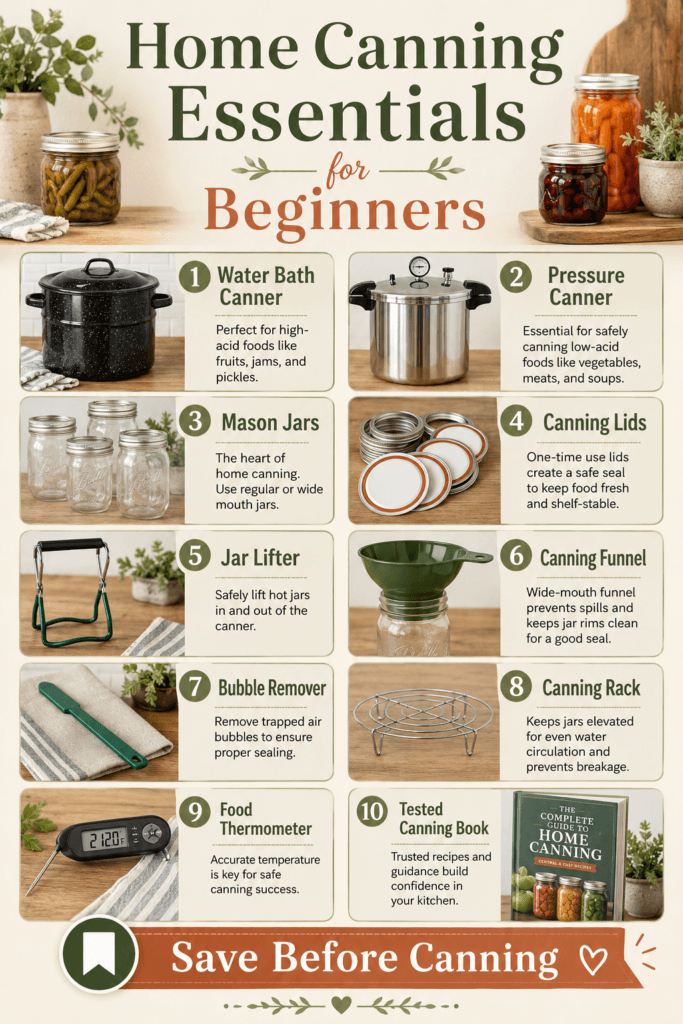
1. Water Bath Canner
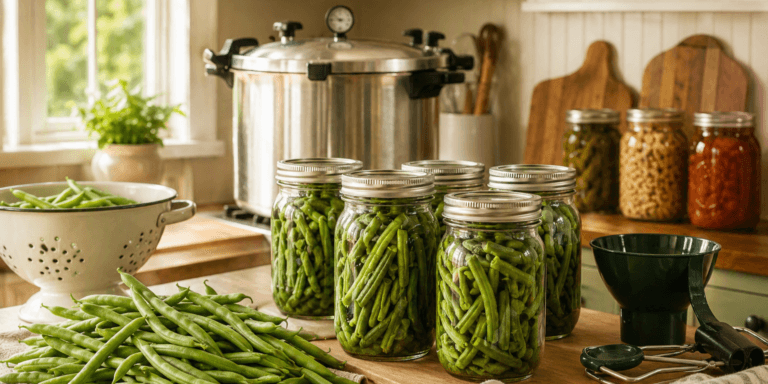
A water bath canner is a large pot used for boiling-water canning.
It should be deep enough to fully cover jars with boiling water during processing. It also needs space for the water to boil without constantly overflowing.
A traditional enamel water bath canner is affordable and easy to use. A deep stockpot can also work if it is large enough and has a proper rack.
If you are starting with jams, pickles, fruit, or tested tomato recipes, a water bath canner is one of the first supplies to buy.
2. Pressure Canner
A pressure canner is required for low-acid foods.
This is different from a pressure cooker. A pressure canner is designed for safe home canning and must be used according to the manufacturer’s instructions and a tested recipe.
If you plan to can vegetables, beans, broth, meat, poultry, seafood, soups, or stews, you need a real pressure canner.
Beginners do not need to buy one immediately if they are only starting with jams and pickles. But if your goal is long-term pantry building, a pressure canner eventually becomes very useful.
3. Canning Rack
A canning rack keeps jars off the bottom of the canner.
This matters because jars should not sit directly on the hot metal bottom of the pot. The rack allows water to circulate around the jars and helps reduce the chance of breakage.
Most water bath canners come with a rack, but if yours does not, buy one that fits your pot.
Do not skip this tool.
4. Mason Jars
Use proper mason jars made for home canning.
Canning jars are designed to handle heat processing and create a reliable seal with two-piece lids.
Before every batch, check jars for cracks, chips, rough rims, or damage. A damaged jar can break during processing or fail to seal.
Keep a few common sizes on hand:
- Half-pint jars for jams and jellies
- Pint jars for pickles, salsa, fruit, and sauces
- Quart jars for larger batches when the tested recipe allows it
Do not use random glass jars from the grocery store for shelf-stable canning.
5. Canning Lids
Use new canning lids for each canning batch.
The flat lid is designed for one-time sealing. The metal ring can usually be reused if it is clean, rust-free, and not bent, but the flat lid should be new every time.
This is one of those small details that matters.
A reused lid may not seal properly, and an unsealed jar is not safe for pantry storage.
6. Jar Lifter
A jar lifter is one of the most useful canning tools you can buy.
Hot jars are heavy, slippery, and dangerous to lift with regular kitchen tongs. A jar lifter grips the jar securely and helps you move it in and out of the canner safely.
I would not try canning without one.
7. Canning Funnel
A canning funnel helps you fill jars cleanly.
It has a wide opening that sits on top of the jar, making it easier to pour in jam, salsa, pickles, fruit, or sauce without spilling over the rim.
Clean rims are important for good seals.
If food gets on the rim, wipe it carefully before adding the lid.
8. Bubble Remover and Headspace Tool
A bubble remover helps release trapped air bubbles from filled jars.
Many bubble removers also have a headspace measuring tool on the end. Headspace is the empty space between the food and the top rim of the jar.
Different recipes require different headspace amounts.
Measuring headspace correctly helps jars seal properly and process safely.
9. Food Thermometer
A food thermometer is helpful for many kitchen preservation tasks.
It can be useful for checking food temperatures, preparing certain recipes, and making sure hot foods stay hot before filling jars.
It is not a replacement for processing time, but it is still a useful tool in a home preserving kitchen.
10. Tested Canning Book
A reliable canning book is one of the best supplies a beginner can own.
Canning recipes should come from trusted, tested sources. You should not guess processing times, create random shelf-stable recipes, or change ingredient ratios that affect acidity, thickness, or safety.
A good canning book gives you tested recipes, jar sizes, headspace, processing times, and safety notes.
This is especially important for salsa, tomato products, pickles, and pressure-canned foods.
Best Jars and Lids for Home Canning
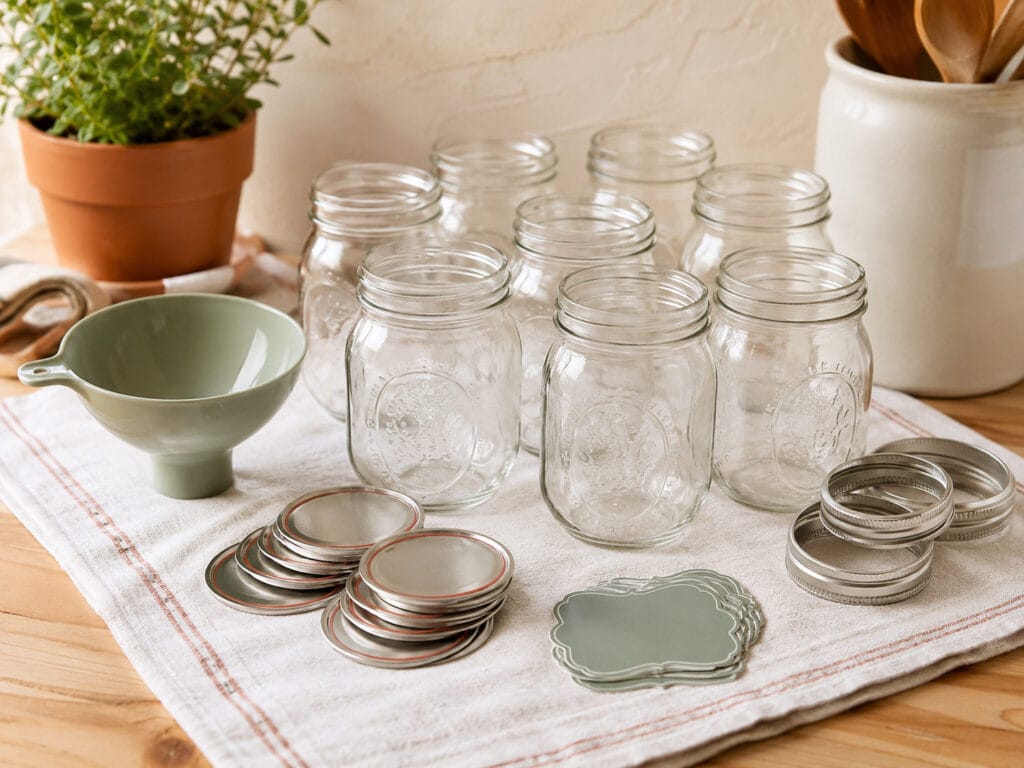
The best jars for home canning are proper Mason-type canning jars.
They are made for repeated heat processing and are designed to work with two-piece lids.
A two-piece canning lid includes:
- A flat lid with sealing compound
- A metal screw band or ring
The flat lid creates the seal. The ring holds the lid in place during processing.
After jars are processed and cooled, the ring can be removed for storage. This helps you notice if a seal fails later.
Regular Mouth vs Wide Mouth Jars
Both regular mouth and wide mouth jars are useful.
Regular mouth jars work well for jams, jellies, sauces, and liquids.
Wide mouth jars are easier to fill and empty, especially for whole fruits, pickles, larger pieces of food, or anything that needs more space.
If you are just starting, I recommend buying a mix of pint and half-pint mason jars first.
Do not buy too many unusual sizes until you know what recipes you like to make.
Canning Safety Basics
Canning safety begins before the jars go into the canner.
Here are the basic rules I want every beginner to remember.
Use the Right Canning Method
Water bath canning is for high-acid foods.
Pressure canning is for low-acid foods.
Do not switch methods because one feels easier.
Use Tested Recipes
Use tested recipes from trusted canning books, extension sources, or official home food preservation guides.
Do not create your own shelf-stable canning recipes as a beginner.
Do Not Guess Processing Times
Processing time depends on the food, jar size, packing style, and altitude.
Always follow the recipe.
Adjust for Altitude
Your altitude can affect safe processing time or pressure.
Check your altitude before canning and follow the recipe’s adjustment chart.
Check Jar Rims Before Filling
A chipped or cracked rim can prevent sealing.
Inspect every jar before using it.
Use New Lids
Always use new canning lids for processing.
A reused flat lid may fail to seal.
Keep Jars Upright
Keep jars upright when loading, processing, removing, and cooling.
Tilting jars can interfere with sealing.
Let Jars Cool Undisturbed
After processing, let jars cool for 12 to 24 hours.
Do not press the lids, tighten the rings, or move the jars around while they are cooling.
Store Jars Properly
Once jars are sealed and cooled, label them and store them in a cool, dark, dry place.
A tidy pantry makes it much easier to rotate food and use older jars first. If your storage shelves are messy, Pantry Organization can help you create a better system before your canning season gets busy.
What Beginners Should Can First
If you are new to canning, start simple.
Your first canning project should help you learn the process without overwhelming you.
Good beginner water bath canning projects include:
- Strawberry jam
- Blueberry jam
- Peach jam
- Apple butter
- Applesauce
- Pickled cucumbers
- Pickled onions
- Fruit preserves
- Tested tomato sauce
- Tested salsa recipe
I recommend starting with a small batch of jam or pickles.
These recipes help you practice filling jars, measuring headspace, wiping rims, processing jars, cooling jars, and checking seals.
Save pressure canning for later if you feel nervous. There is nothing wrong with learning water bath canning first and building your confidence slowly.
If your goal is to grow and preserve more of your own food, 10 Easy Vegetables to Grow for Beginners can help you choose simple crops for future canning and preserving projects.
Common Canning Mistakes
Canning is not difficult once you understand the process, but there are a few mistakes beginners should avoid.
Buying Tools Before Understanding the Method
Before buying a canner, decide what you want to preserve.
If you want jams and pickles, start with a water bath canner.
If you want vegetables, broth, meat, or beans, you need a pressure canner.
Using Untested Recipes
A recipe can taste delicious and still be unsafe for canning.
Use trusted recipes for shelf-stable jars.
Reusing Flat Lids
Do not reuse flat canning lids for processing.
Use a new lid every time.
Forgetting the Rack
Jars should not sit directly on the bottom of the canner.
Use a canning rack to allow heat and water to circulate properly.
Overfilling Jars
Headspace matters.
Too much or too little headspace can cause sealing problems.
Use a bubble remover and headspace tool before adding lids.
Not Wiping Jar Rims
Food on the rim can prevent a good seal.
Wipe each rim with a clean damp towel before placing the lid.
Ignoring Altitude
Canning instructions often need altitude adjustments.
Check your altitude before your first batch.
Moving Jars Too Soon
Let jars cool undisturbed.
Do not touch, tilt, tighten, or press the lids while jars are cooling.
Storing Unsealed Jars in the Pantry
If a jar does not seal, refrigerate it and use it first.
Do not store unsealed jars at room temperature.
Canning Too Much Too Soon
Start small.
A small successful batch teaches you more than a giant stressful batch.
Home Canning Supply Checklist
Here is a simple home canning checklist for beginners.
Basic Water Bath Canning Supplies
- Water bath canner
- Canning rack
- Mason jars
- Canning lids
- Rings
- Jar lifter
- Canning funnel
- Bubble remover
- Clean kitchen towels
- Timer
- Tested canning book
- Canning labels
Pressure Canning Supplies
- Pressure canner
- Mason jars
- Canning lids
- Rings
- Jar lifter
- Canning funnel
- Bubble remover
- Clean towels
- Tested pressure canning recipe
- Food thermometer
- Timer
- Canning labels
Helpful Extras
- Magnetic lid lifter
- Kitchen scale
- Canning ladle
- Extra towels
- Pantry shelves
- Food preservation notebook
- White vinegar 5% acidity
- Bottled lemon juice
- Extra jar rings
- Storage bins for empty jars
You do not need to buy everything at once.
Start with the supplies that match the method you plan to use first.
For most beginners, that usually means a water bath canning setup, a tested recipe, and one simple batch.
FAQ About Home Canning Essentials
What do I need to start home canning?
To start water bath canning, you need a water bath canner, canning rack, mason jars, new canning lids, rings, jar lifter, canning funnel, bubble remover, clean towels, and a tested recipe.
For low-acid foods, you need a pressure canner.
Do beginners need a pressure canner?
Not always.
If you only want to can jams, jellies, fruit, pickles, and tested high-acid recipes, you can start with a water bath canner.
If you want to can vegetables, beans, broth, meat, poultry, seafood, soups, or stews, you need a pressure canner.
Can I use a regular pot for water bath canning?
Yes, if the pot is deep enough to cover jars with boiling water and hold a rack under the jars.
The jars should not sit directly on the bottom of the pot.
What jars are best for canning?
Use proper mason jars made for home canning.
Avoid random glass jars because they may not seal properly or handle heat processing safely.
Can I reuse canning lids?
Do not reuse flat canning lids for processing.
Use new canning lids for each batch. Rings can usually be reused if they are clean and not damaged.
What is the most important canning tool?
A safe tested recipe is the most important thing.
For physical tools, I would start with a canner, rack, jars, lids, jar lifter, canning funnel, and bubble remover.
What should beginners can first?
Beginners should start with simple water bath canning recipes like jam, applesauce, fruit preserves, or pickles.
These recipes are easier to learn before moving into pressure canning.
Do I need a canning book?
A reliable canning book is very helpful because it gives tested recipes, correct jar sizes, headspace, processing times, and safety notes.
Why do jars fail to seal?
Jars can fail to seal because of damaged rims, reused lids, food on the rim, incorrect headspace, weak processing, or moving jars too soon.
How should I store home-canned jars?
Store sealed jars in a cool, dark, dry place.
Remove rings after the jars are sealed and cooled, label each jar, and use older jars first.
Final Thoughts
Home canning becomes much easier when you understand the essentials.
You do not need a kitchen full of tools to begin. You need the right canner for the food, proper jars, new lids, a rack, a jar lifter, a funnel, a bubble remover, clean towels, and a tested recipe.
Start with one simple project.
Learn how the tools work. Practice filling jars. Measure headspace carefully. Process for the correct time. Let the jars cool. Check the seals. Label everything before storing.
That first successful batch gives you confidence.
From there, you can slowly build your canning supplies, try new recipes, and create a pantry that feels more useful, seasonal, and self-sufficient.
Home canning is not about doing everything at once.
It is about learning one safe step at a time.