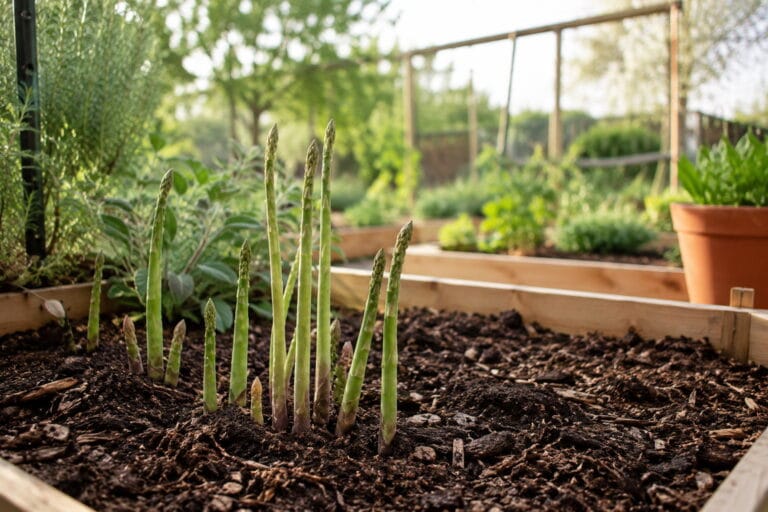
Seed Saving for Beginners: Easy Ways to Collect and Store Seeds
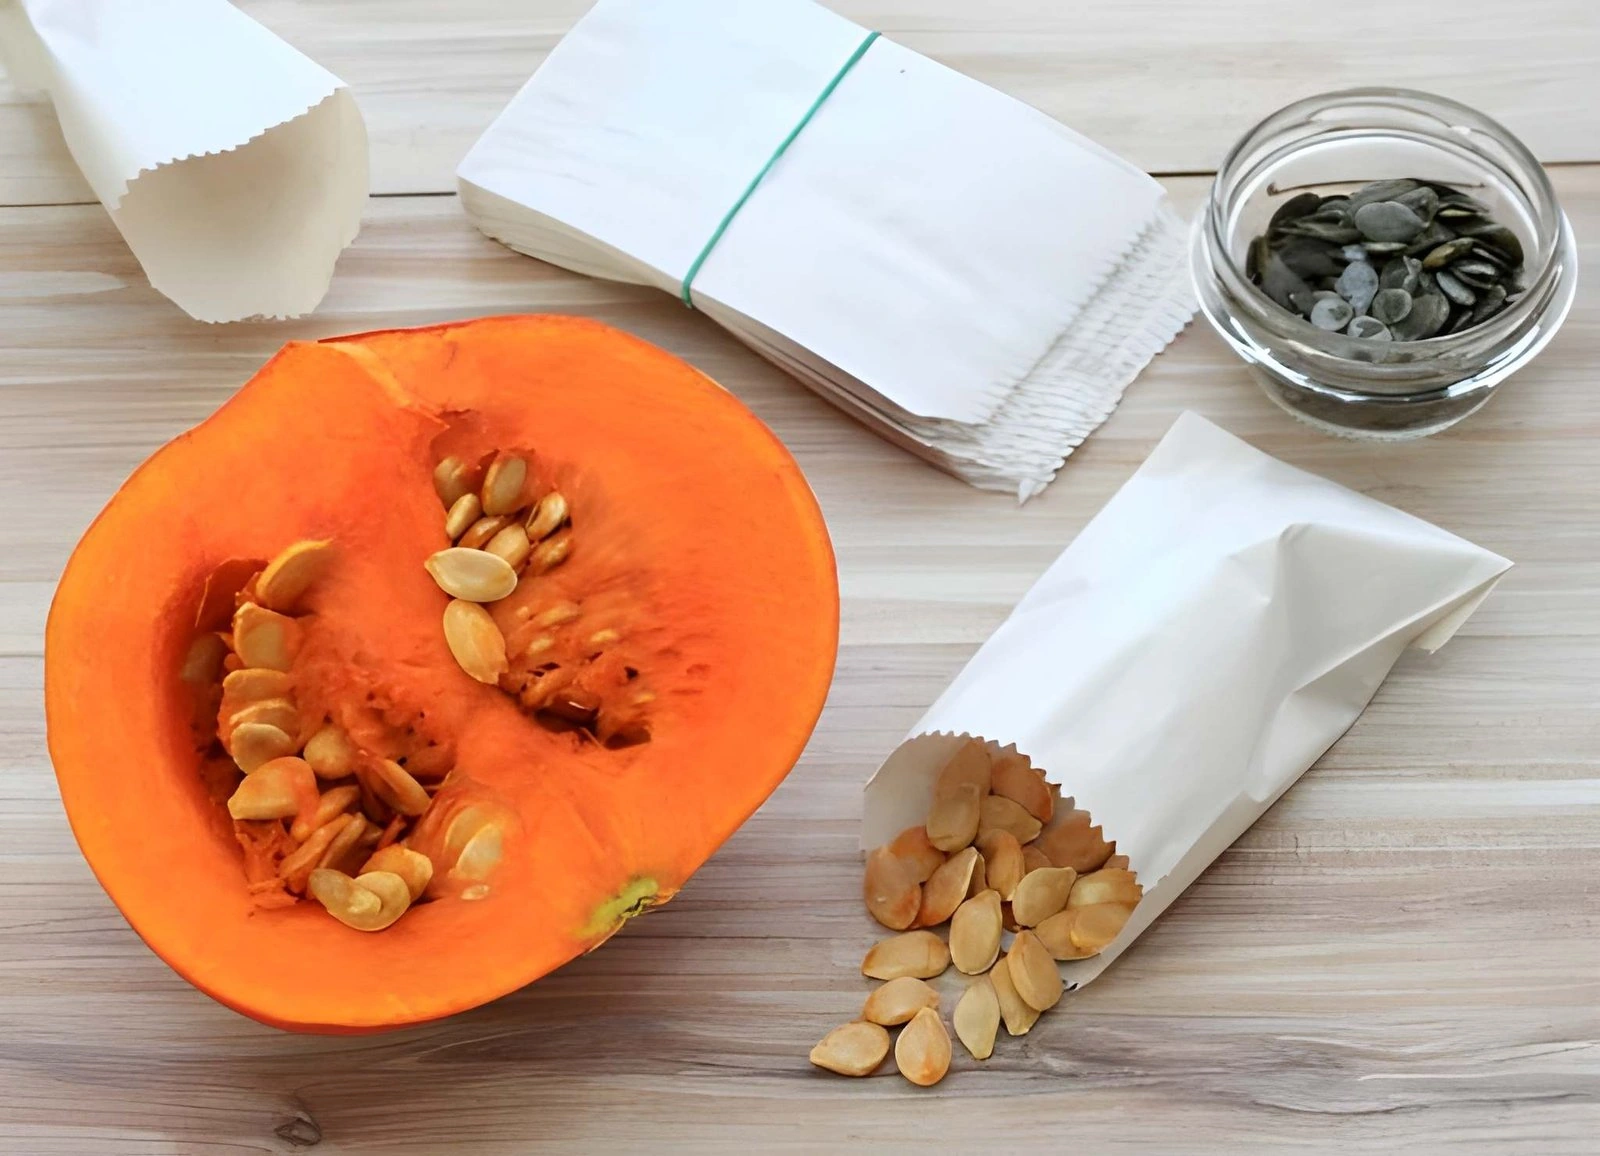
Seed saving for beginners starts with one important choice: collect seeds from the right plants at the right stage of maturity. You cannot simply remove seeds from every vegetable at the normal eating stage and expect dependable results. The parent variety, pollination method, plant health, seed maturity, drying conditions, and storage environment all influence what happens when those seeds are planted. This guide explains how to choose beginner-friendly plants, distinguish open-pollinated varieties from hybrids, collect wet and dry seeds, label each batch, and store your seeds for the next growing season.
Quick Answer
In Short
For successful seed saving, choose healthy, correctly identified open-pollinated plants. Allow their seeds or fruits to become fully mature, collect the seeds using a crop-appropriate dry or wet method, remove plant debris, and dry the seeds thoroughly. Label each batch with the crop, variety, collection year, and useful pollination notes before storing it in cool, dry, dark conditions.
Key Takeaways
Key Takeaways
- Open-pollinated varieties generally produce more predictable saved seed than F1 hybrids.
- Beans, peas, tomatoes, peppers, and lettuce are practical beginner crops because they are primarily self-pollinating.
- Seed maturity often occurs days or weeks after the crop’s normal eating stage.
- Wet-seeded and dry-seeded crops require different collection and cleaning methods.
- Seeds must be thoroughly dry, correctly labeled, and protected from moisture before storage.
How to Save Seeds: Seed-Saving Techniques Explained
Watch this practical overview to see how garden seeds are selected, collected, cleaned, dried, labeled, and stored. The video explains the difference between dry-seeded and wet-seeded crops and highlights the precautions that help protect seed quality.
Important: Seed-saving methods vary by crop. Beans and lettuce produce dry seed, while tomatoes and other fleshy fruits require different cleaning methods. Always begin with healthy, correctly identified plants and dry the seeds thoroughly before airtight storage.
Video courtesy of Epic Gardening. This video is embedded from YouTube for educational purposes and is not produced or owned by Dreamsteading.
What Seed Saving Actually Involves
Seed saving means collecting mature seed from selected plants so it can be stored and planted in a future season. It involves more than recovering seeds from kitchen scraps. You are choosing parent plants, managing or accepting possible cross-pollination, waiting for seed maturity, cleaning the harvested seed, and protecting its ability to germinate.
The plant you see in the garden reflects its genetics and growing conditions. The plants grown from its seeds may also be influenced by pollen from compatible nearby plants. This is why a healthy fruit does not guarantee that its seed will reproduce the same variety.
Seed saving is useful for maintaining favored open-pollinated varieties, learning more about plant lifecycles, reducing some recurring seed purchases, and sharing regionally useful varieties. It does not guarantee perfect germination, genetic purity, disease-free seed, or complete independence from commercial suppliers.
If your garden is still new, begin with a manageable selection from these easy vegetables for beginning gardeners. Growing a crop successfully before saving its seed makes it easier to recognize healthy, vigorous, and true-to-type plants.
Choose the Right Plants for Seed Saving
The original seed packet or catalog listing is one of your most useful records. It may identify the cultivar, whether it is open-pollinated or hybrid, its expected appearance, days to maturity, and disease-resistance traits. Retain that information instead of relying on memory at the end of the season.
Open-pollinated varieties
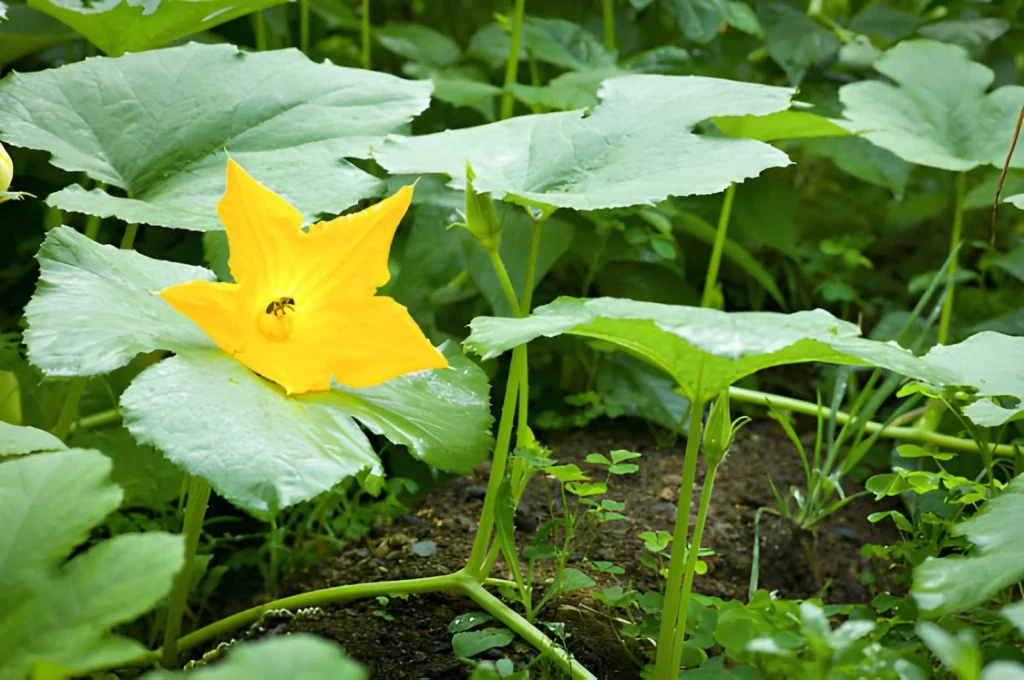
An open-pollinated variety reproduces through natural pollination. When it is pollinated by the same variety and unwanted crosses are prevented, its offspring should remain relatively consistent with the parent population. Some open-pollinated varieties are heirlooms, but an open-pollinated variety does not have to be old enough to qualify as an heirloom.
Open-pollinated seeds are the most practical choice when your goal is to maintain recognizable traits from one season to the next. Even these varieties can cross with compatible nearby plants, however, so the words “open-pollinated” do not eliminate the need to understand pollination.
Hybrid varieties
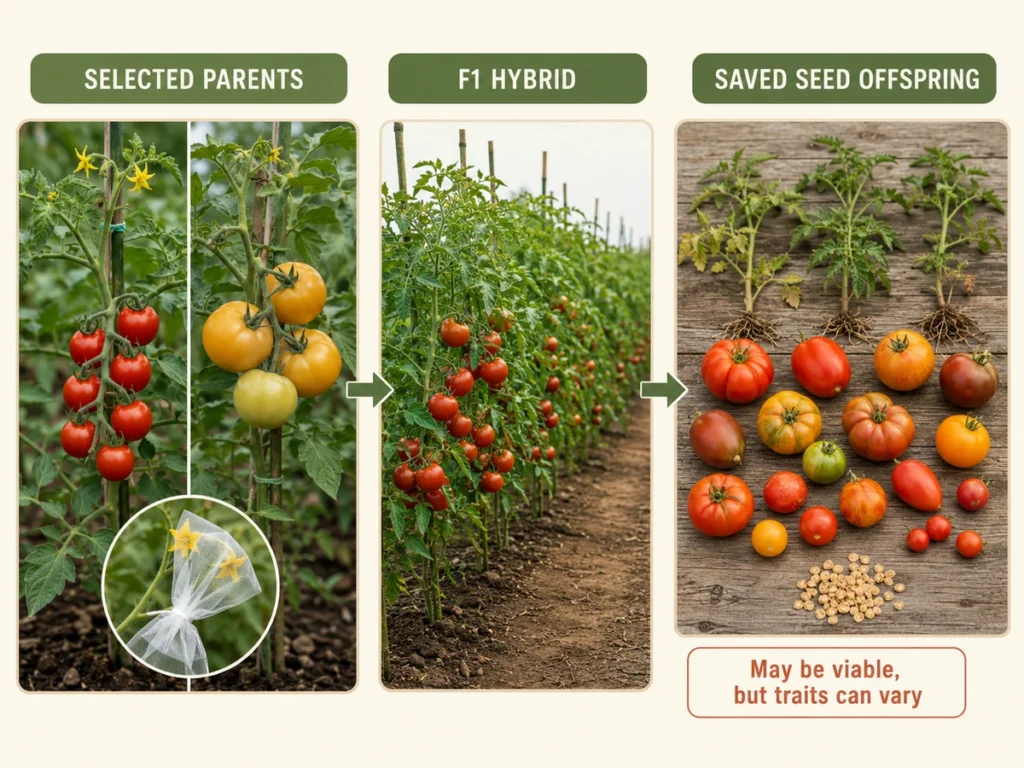
An F1 hybrid is produced by intentionally crossing two selected parent lines. Seeds collected from a hybrid plant may be viable, but their offspring can display an unpredictable combination of traits. They may differ in size, flavor, color, vigor, maturity, productivity, or disease resistance.
Myth
Seeds from hybrid vegetables will not germinate
Reality
Some hybrid seeds can germinate and grow. The limitation is predictability, not automatic sterility. Plants grown from those seeds may not resemble the hybrid parent or retain the qualities that made it useful.
Saving hybrid seed can be an interesting experiment, but it is not the dependable choice when you want to reproduce a named variety. Never label saved hybrid offspring as the original hybrid cultivar.
Healthy, representative parent plants
Select seed parents while the plants are actively growing. Look at the entire plant rather than choosing the largest fruit at the end of the season. Favor plants that match the variety description and show useful traits such as healthy growth, desirable flavor, appropriate harvest timing, and good performance under your conditions.
Avoid weak, severely stressed, visibly diseased, or off-type plants. Some plant pathogens can be carried with seed. Collecting from a healthy-looking plant cannot guarantee disease-free seed, but it is a fundamental risk-reduction step. When a crop shows a serious or unidentified disease problem, purchasing fresh seed from a reputable supplier may be safer than carrying the problem into another season.
Understand Pollination Before Collecting Seeds
Pollination determines which plants contributed genetic material to a seed. Cross-pollination usually does not change the tomato, squash, or cucumber currently developing on the plant. Its effects appear in the next generation grown from that seed. Corn is an important exception because pollen can influence qualities of the current kernels.
Primarily self-pollinating crops
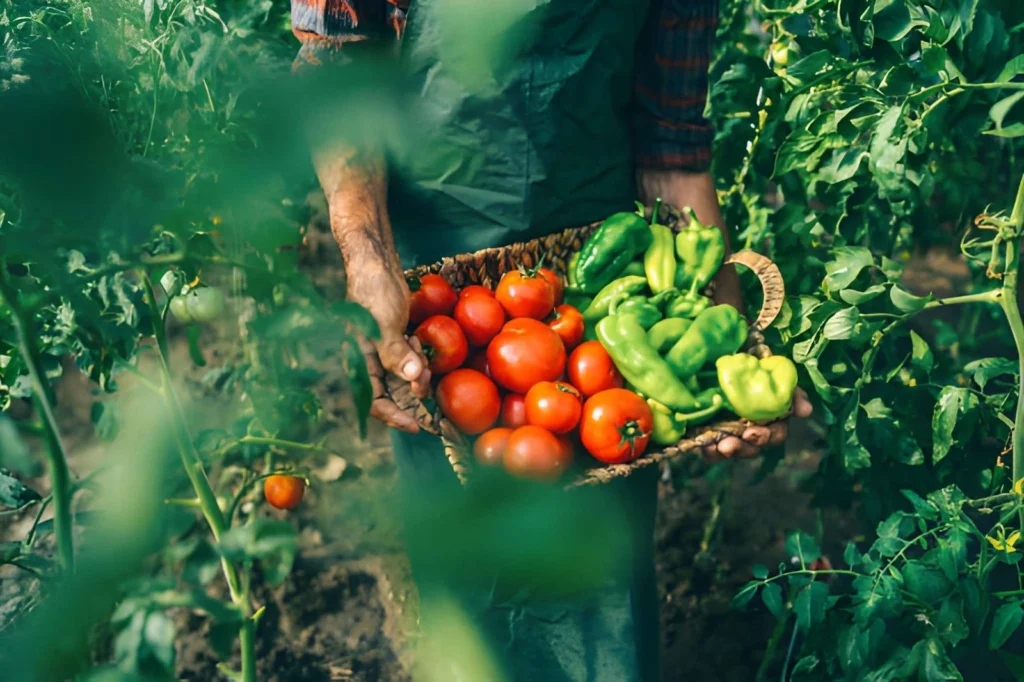
Tomatoes, peppers, peas, beans, and lettuce primarily pollinate themselves. This reduces—but does not completely eliminate—the possibility of crossing. Insects, flower structure, variety, and garden conditions can still affect the likelihood of cross-pollination.
These crops are good starting points because a beginner can often obtain useful seed without complicated hand-pollination. If preserving strict varietal purity matters, consult crop-specific isolation recommendations rather than assuming that neighboring varieties cannot cross.
Cross-pollinating crops
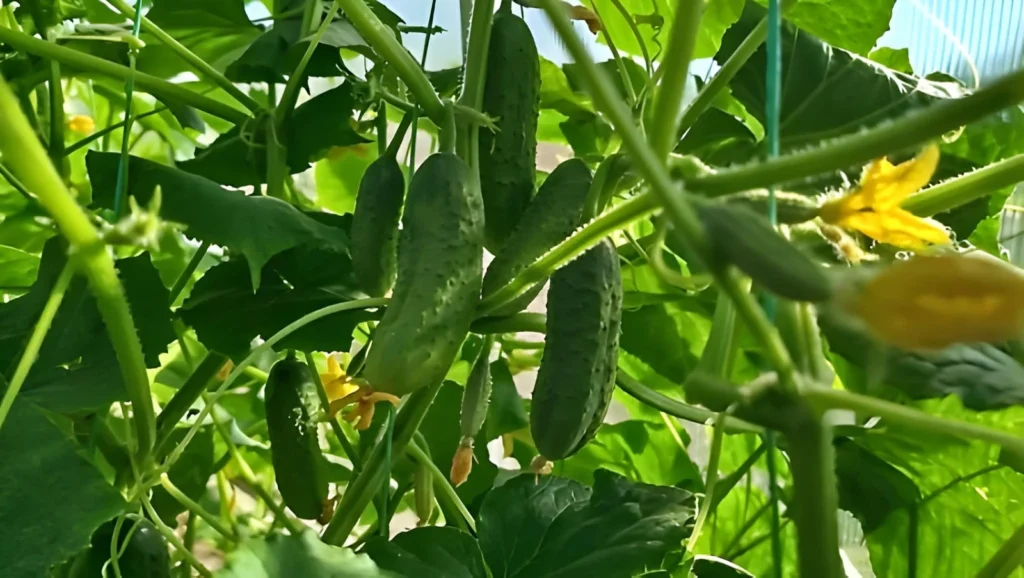
Squash, pumpkins, cucumbers, melons, corn, brassicas, carrots, beets, onions, and several other crops can cross with compatible plants. They may depend on insects or wind to move pollen. Seed purity can require appropriate separation, physical barriers, staggered flowering times, blossom protection, or controlled hand-pollination.
Compatibility follows botanical relationships, not simply common names. Different squash varieties may or may not cross depending on their species. A universal isolation distance cannot account for every crop, garden, surrounding property, pollinator population, or desired level of purity.
Nearby gardens can affect saved seed
Pollen can travel beyond your property through insects or wind. When maintaining a named cross-pollinating variety is important, use crop-specific guidance that considers compatible plants beyond your own garden.
Companion planting can influence how you arrange crops, but proximity claims should not be confused with genetic isolation. The guide to companion planting for beginners explains useful garden relationships, while seed purity still requires separate crop-specific planning.
Annual, Biennial, and Perennial Seed Crops
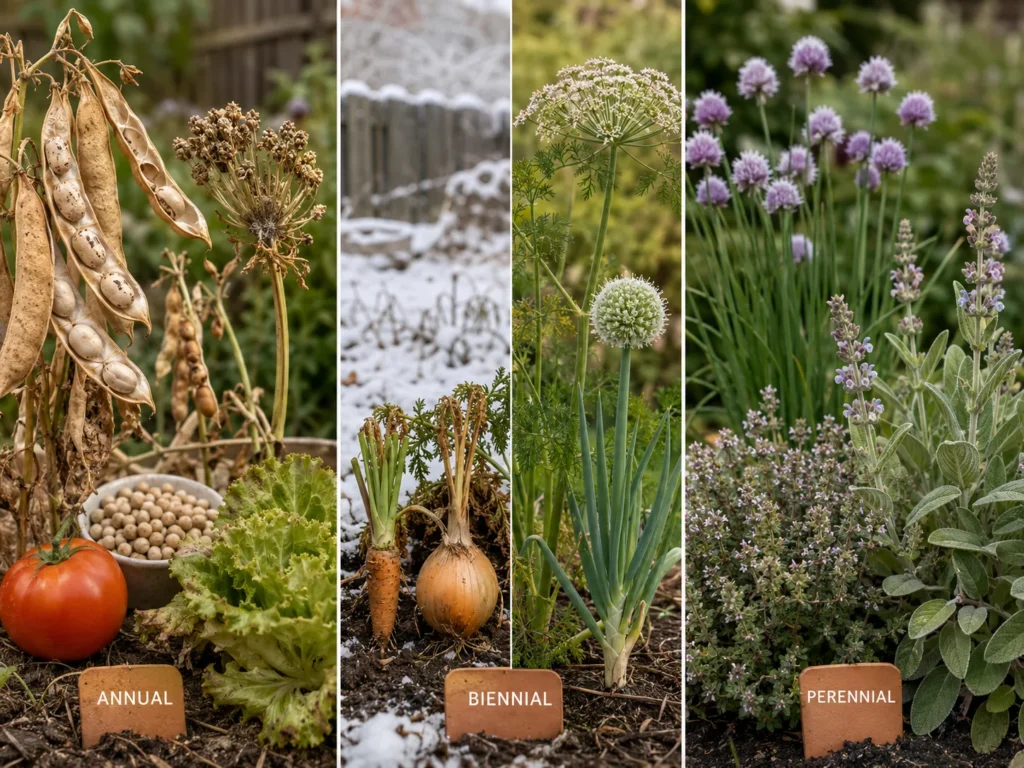
A plant’s lifecycle determines how long you must keep it before collecting seed. Annual plants complete their lifecycle from germination through seed production within one growing season. Beans, peas, tomatoes, peppers, and lettuce can normally produce seed during the year they are planted.
Biennials generally grow vegetatively during their first season and flower after experiencing winter or an appropriate cold period. Carrots, beets, onions, cabbage, and related crops may require overwintering in the ground or lifting, storing, and replanting selected specimens. Climate and crop hardiness determine the practical method.
Perennial herbs and flowers can live and produce seed over several seasons, but some are easier to propagate by division, cuttings, bulbs, or other vegetative methods. Their seedlings can also vary when varieties cross.
For a first attempt, choose an annual crop that reaches seed maturity within your normal growing season. Biennials are better added after you have dependable labeling, overwintering, and isolation systems.
Know When Garden Seeds Are Mature
Eating maturity and seed maturity are different. A cucumber may be tender and flavorful while its seeds are still immature. A bean harvested for fresh eating has soft seeds, while a pod kept for planting seed becomes dry, brown, and brittle. Successful seed saving for beginners depends on allowing the seed to complete its development.
| Crop type | Normal eating stage | Seed-saving stage | Collection sign |
|---|---|---|---|
| Beans and peas | Pods tender and seeds immature | Pods dry and brown | Seeds hard and may rattle inside |
| Tomatoes | Ripe fruit | Fully ripe, healthy fruit | Mature color and developed seed |
| Peppers | May be harvested green or partly colored | Fully mature fruit | Final mature color; fruit may begin to wrinkle |
| Lettuce | Leaves harvested before bolting | After flowering | Dry seed heads release mature seed |
| Cucumber | Young and tender | Overmature fruit | Large fruit with firm, developed seed |
Watch the weather as seeds approach maturity. Persistent rain and high humidity can encourage mold, sprouting, pod shattering, or seed loss. Dry-seeded crops that have reached sufficient maturity may sometimes finish drying under cover, but immature green seed will not necessarily complete development successfully after an early harvest.
Dry-Seeded and Wet-Seeded Crops
Seed-collection methods fall into two practical groups. Dry-seeded crops form seed in pods, husks, capsules, or flower heads that dry on the plant. Wet-seeded crops hold seed inside fleshy fruit. Keeping these methods separate makes cleaning easier and reduces unnecessary moisture exposure.
Collecting dry seeds
Beans, peas, lettuce, basil, dill, and many flowers are dry-seeded. Allow the pods or seed heads to mature as fully as conditions permit. Collect them into separate paper bags, shallow trays, or clean containers. Paper allows some airflow and can catch seed that drops after harvest.
Threshing releases seed from pods or heads. For small batches, this may mean gently rubbing dry material between gloved fingers, rolling pods inside a bag, or breaking pods by hand. Winnowing uses controlled airflow to separate lighter chaff from heavier seed. Work over a large tray so viable seeds are not lost.
Do not use aggressive airflow on tiny seeds. A fine seed-cleaning screen set can help separate different sizes of chaff, but household sieves and careful hand sorting are adequate for many beginner batches.
Collecting wet seeds
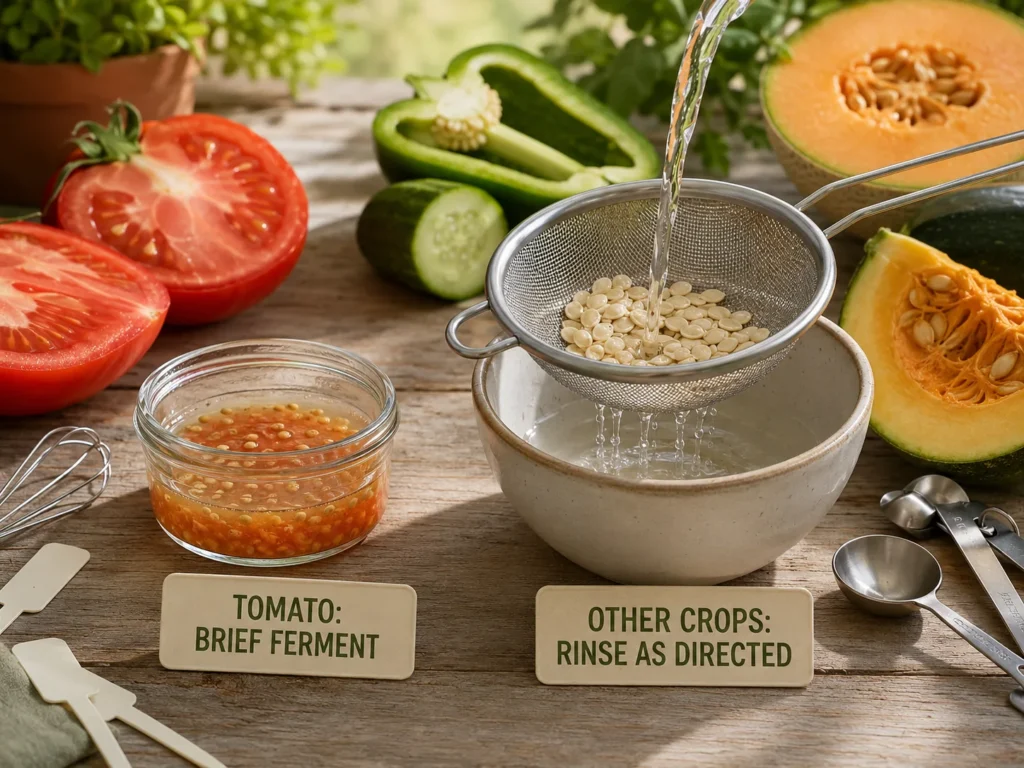
Tomatoes, peppers, cucumbers, squash, and melons contain wet seed inside mature fruit. Scoop or cut the seeds out with clean tools, then use the method appropriate to that crop. Some seeds can be rinsed free of pulp, while tomatoes are commonly processed with a brief fermentation to separate their gelatinous coating.
Do not assume every wet seed should be fermented. Unnecessary fermentation can damage some species, and excessive fermentation can reduce tomato-seed quality. Follow crop-specific university-extension guidance.
How to Save Seeds From Beginner-Friendly Plants
Beans and peas
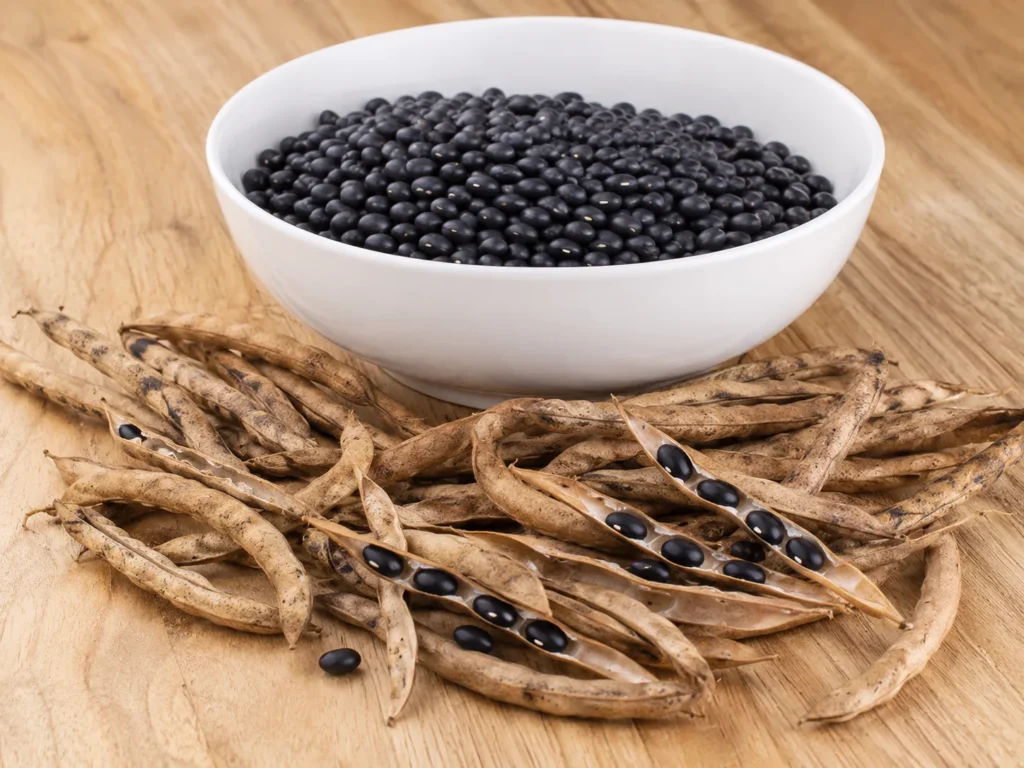
Reserve pods from healthy open-pollinated plants and leave them until they become brown and dry. The seeds should feel hard, and they may rattle inside the pods. This stage can occur as long as a month after the crop would normally be harvested for eating.
Gather the pods on a dry day when possible. University of Minnesota Extension recommends spreading harvested pods indoors to dry and allowing them at least two weeks before shelling, or leaving the seeds inside the pods until planting time. Remove shriveled, discolored, moldy, or insect-damaged seeds.
Tomatoes
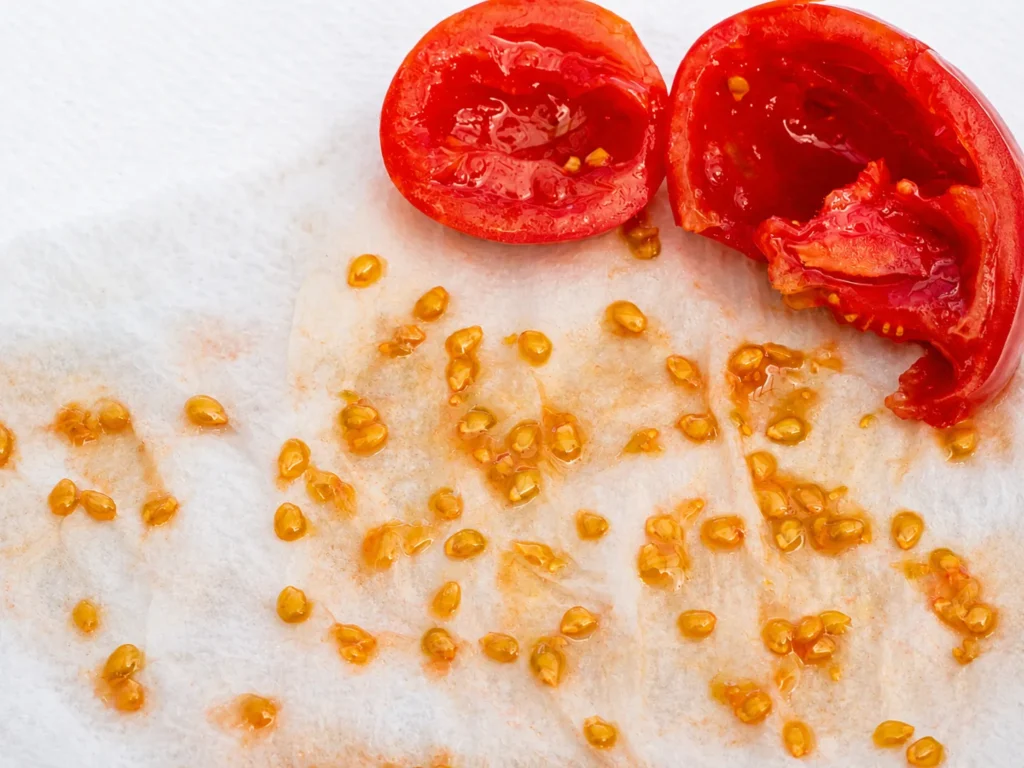
Choose fully ripe, healthy tomatoes from selected open-pollinated plants. Scoop the seeds and surrounding gel into a small clean container with a little water. Label the container immediately because tomato batches become difficult to distinguish.
Stir or swirl the mixture twice daily. Fermentation should separate the gelatinous material, and viable seeds commonly settle toward the bottom within several days. Once separation occurs, pour off floating pulp and poor material, add clean water, and repeat carefully until the seed is clean. Spread the rinsed seed in a thin layer to dry.
Tomato fermentation requires attention
Do not leave tomato seeds fermenting indefinitely. Check them every day and rinse them once the gel has separated. Fermentation time varies with temperature and conditions, and excessive fermentation can encourage premature germination or damage.
Peppers
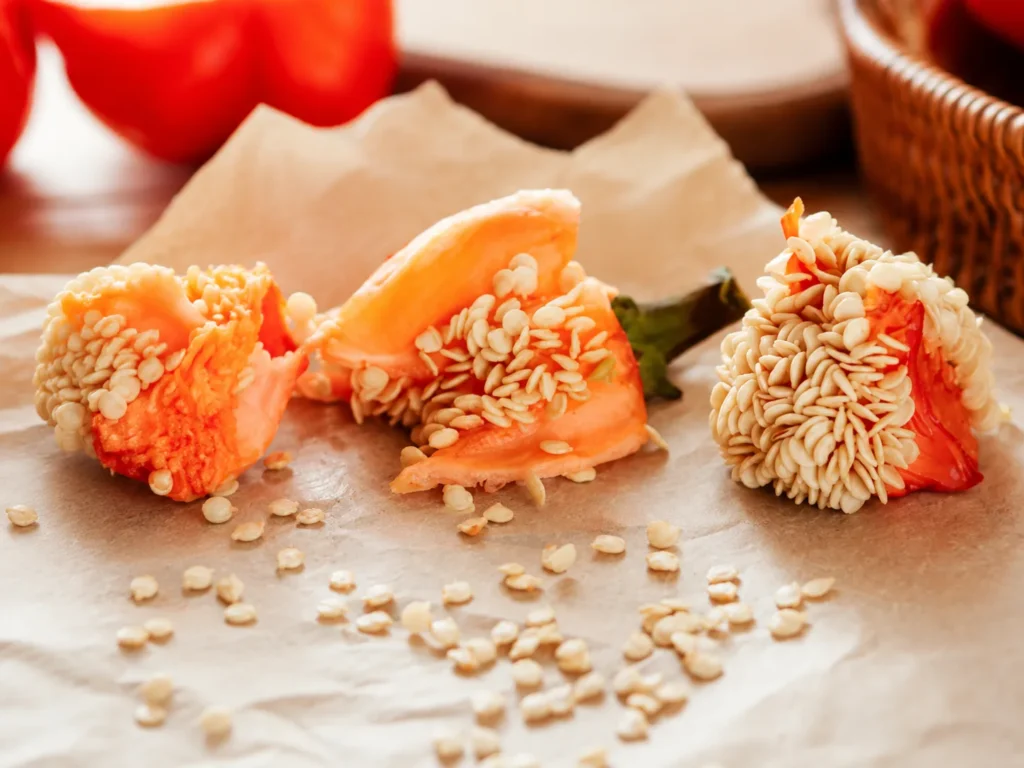
Allow selected peppers to reach their full mature color. A pepper that is large enough to eat while green may still contain immature seed. Some fully ripe fruits begin to wrinkle as seed maturity advances.
Cut the fruit open, remove the seeds, discard soft or discolored material, and spread the good seeds to dry. Wear disposable gloves when handling hot peppers. Capsaicin can remain on skin and tools, so avoid touching your face or eyes and wash the work area thoroughly.
Lettuce
Stop harvesting leaves from selected plants and allow them to bolt. The plants will form tall flowering stalks followed by seed heads. Because lettuce seed does not mature simultaneously, collect mature heads repeatedly or cut ready branches into a paper bag.
Rub dry heads gently to release seed and remove as much chaff as practical. Lettuce seed is light, so use gentle airflow during cleaning. Label different varieties carefully because the loose seeds can look very similar.
Basil and other seed-forming herbs
Allow selected basil flower spikes to mature and turn brown rather than continually pinching off every flower. Cut dry spikes over a paper bag or tray and rub the flower structures gently to release the small dark seeds.
Different basil varieties can cross through insect pollination, so seeds may not remain true-to-type when several varieties flower nearby. The guide to growing basil for beginners can help you manage the plants through their normal growing season before selecting seed specimens.
How to Dry Seeds Before Storage
Drying is essential because retained moisture encourages mold, heating, deterioration, and premature germination. Seeds that feel dry on the surface may still contain enough internal moisture to cause trouble when sealed.
Spread cleaned seeds in a single thin layer on a screen, uncoated paper plate, coffee filter, or another clean surface suited to their size. Avoid fluffy paper towels for small wet seeds when they are likely to become permanently attached. Keep varieties separated and transfer the identification label with the seeds whenever they move.
Choose a dry, well-ventilated location away from rain, direct sun, excessive heat, cooking steam, and bathroom humidity. Stir or turn larger seeds periodically. Do not speed the process with an oven, microwave, hot radiator, or uncontrolled high heat.
Dry beans and peas should be hard rather than easily dented. Smaller seeds should separate and flow freely instead of clumping. Because drying time varies with seed size, initial moisture, temperature, and humidity, a universal number of days is unreliable.
Myth
Seeds are ready for storage as soon as their surfaces feel dry
Reality
Surface dryness is not proof that internal moisture is low enough for sealed storage. Give seeds adequate drying time under gentle, ventilated conditions and check for clumping, softness, or condensation after packaging.
Label and Store Saved Seeds Correctly
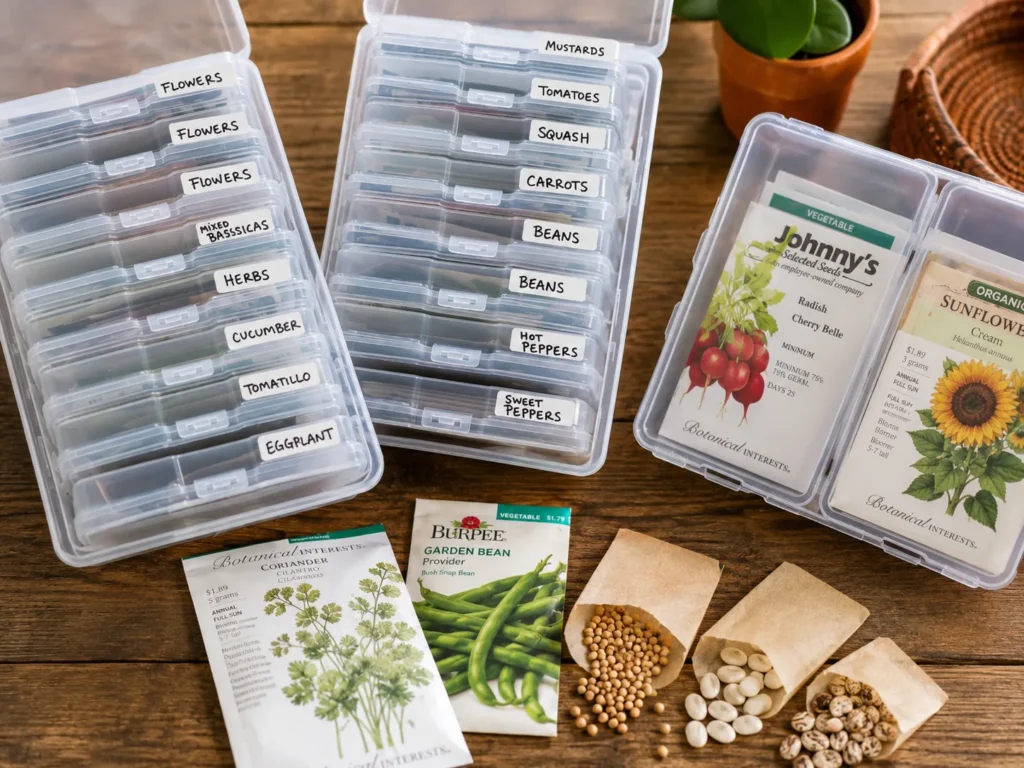
Seed saving for beginners becomes much more reliable when every batch has a complete identity. At minimum, record the crop, named variety, and year collected. Useful additional details include the original supplier, garden location, parent-plant traits, number of plants represented, isolation method, and any uncertainty about crossing.
Place dry seeds in individual paper coin envelopes or seed packets. Paper packets organize varieties but do not fully block humid air. Once seeds are thoroughly dry, put the packets inside a tightly sealed glass jar or another moisture-resistant container. A small packet of fresh silica-gel desiccant can help manage residual humidity, but it cannot compensate for seeds packaged while still wet.
Keep the container cool, dry, and dark. University of Minnesota Extension identifies 32–41°F (0–5°C) as an ideal storage range and notes that a refrigerator can be suitable. Refrigerator storage works only when dry seeds are protected inside a tightly sealed container.
Allow a cold sealed container to warm toward room temperature before opening it. Opening a cold container in warm, humid air can encourage condensation on the seeds. Return unused packets promptly rather than leaving the main collection exposed.
Store seed above potential flood level and protect it from insects, rodents, children, and pets. Commercially treated seed should remain in its original clearly marked packaging and be kept distinctly separate from culinary seeds, dried food, and animal feed.
| Label detail | Why it matters |
|---|---|
| Crop and variety | Prevents unidentified or incorrectly named plants |
| Collection year | Helps prioritize older seed and interpret germination |
| Original source | Preserves useful variety and supplier information |
| Pollination notes | Records isolation or possible crossing |
| Parent-plant notes | Supports intentional selection over time |
Test Germination Before Planting
Storage life varies widely by species and conditions. Instead of relying only on an age chart, test a sample when seeds are older, valuable, exchanged, or stored under uncertain conditions.
- Count a convenient sample, such as 10 or 20 seeds.
- Place the seeds on a damp—not dripping—paper towel or another appropriate germination medium.
- Fold or cover the medium and place it inside a loosely managed container that retains moisture without waterlogging the seeds.
- Keep the sample at the appropriate germination temperature for that crop.
- Check it regularly and count normally germinated seedlings within the crop’s expected germination period.
If 8 of 10 seeds germinate normally, the observed germination for that small sample is 80 percent. A small home test is an estimate, not a formal laboratory result, but it can help you decide whether to sow more heavily or replace the batch.
Once you know the seed is viable, use the complete guide to starting seeds indoors for containers, growing medium, light, moisture, and timing. Before indoor-grown seedlings move outside, follow a gradual seedling hardening-off process.
Benefits and Tradeoffs of Saving Garden Seeds
Benefits
- Preserves access to favored open-pollinated varieties.
- Reduces some repeat seed purchases.
- Builds practical knowledge of pollination and plant lifecycles.
- Allows intentional selection from plants that perform well in your garden.
- Creates opportunities to share properly identified seed.
Considerations
- Maintaining varietal purity may require isolation or controlled pollination.
- Seed-producing plants occupy space beyond the normal harvest stage.
- Hybrid offspring and accidental crosses can be unpredictable.
- Improper drying or humid storage can ruin a batch.
- Some plant diseases can be carried with seed.
Home seed saving does not have to replace purchased seed. Many gardeners save several dependable open-pollinated crops while purchasing hybrids, biennials, disease-sensitive varieties, or seeds that are difficult to maintain in a small garden.
Common Seed-Saving Mistakes
- Starting with an unidentified plant: Without the cultivar and hybrid status, you cannot confidently predict the offspring.
- Choosing only one attractive fruit: Evaluate plant health, growth, performance, and varietal characteristics.
- Saving seed from diseased plants: Some pathogens can accompany contaminated seed into another season.
- Ignoring neighboring varieties: Compatible plants in your garden or nearby properties may contribute pollen.
- Harvesting at eating maturity: The fruit may be ready for the kitchen before its seeds are viable.
- Mixing batches during cleaning: Similar-looking seeds can become impossible to identify after labels are separated.
- Sealing seeds too soon: Moist seed can mold or deteriorate inside an airtight container.
- Applying one processing method to every crop: Tomatoes, peppers, beans, and lettuce require different handling.
- Using heat to accelerate drying: Excessive temperatures can reduce germination.
- Trusting age alone: A germination test provides better planting guidance than the collection date by itself.
Crop rotation can also reduce the repeated buildup of certain garden problems, although it does not make contaminated seed safe. Use this beginner crop-rotation guide when planning where saved vegetable seeds will be planted.
Frequently Asked Questions
Can you save seeds from any plant?
You can collect seeds from many plants, but not every batch will be useful or predictable. Consider the plant’s hybrid status, health, lifecycle, pollination behavior, seed maturity, and whether the species is normally propagated by seed.
Can you save seeds from grocery-store vegetables?
Some may germinate, but the cultivar, hybrid status, growing environment, pollination history, and maturity are usually unknown. Produce may also have been harvested before its seeds matured. Correctly identified garden varieties are more dependable.
What are the easiest vegetable seeds for beginners to save?
Open-pollinated beans, peas, tomatoes, peppers, and lettuce are practical starting points because they are primarily self-pollinating and can complete seed production in one season.
How long should seeds dry before storage?
There is no reliable universal drying time. Seed size, crop, starting moisture, airflow, temperature, and humidity all matter. Dry seeds gently until they are hard or free-flowing, show no clumping or softness, and create no condensation after packaging.
Should every tomato seed be fermented?
Fermentation is commonly used to separate the gelatinous coating from tomato seeds, but it must be monitored and stopped once separation occurs. Do not automatically apply tomato fermentation to peppers, squash, or other wet-seeded crops.
Can saved seeds be kept in plastic bags?
Only thoroughly dried seed should be placed in moisture-resistant packaging. Thin bags can be punctured or allow moisture exchange. Labeled paper packets inside a sturdy airtight container provide better organization and protection.
Why did saved seeds produce a different vegetable?
The likely causes include saving seed from a hybrid, accidental cross-pollination, an incorrect label, mixed seed, or normal genetic variation. Storage conditions affect germination but do not usually explain an entirely different fruit type.
Start With One or Two Dependable Crops
Seed saving for beginners is easiest when you start with correctly identified open-pollinated beans, peas, tomatoes, peppers, or lettuce. Mark healthy parent plants early, let their seeds mature fully, and keep each batch labeled through collection, cleaning, drying, and storage.
Plant a portion of the saved seed the following season and record its germination, vigor, health, and resemblance to the parent variety. Those observations will show whether your collection and storage system worked—and where the next seed-saving season can be improved.
Sources and Further Reading
- University of Minnesota Extension: Saving Vegetable Seeds — supports guidance on open-pollinated varieties, hybrids, beginner crops, collection methods, disease risk, and cool seed storage.
- University of Minnesota Extension: Preparing Your Vegetable Garden for Fall — supports saving open-pollinated seed and selecting healthy plants.
- University of Minnesota Extension: Managing Plant Diseases in the Home Garden — supports disease-prevention and healthy seed-selection guidance.
- University of Minnesota Extension: Growing Dill in Home Gardens — supports collection, drying, and storage guidance for dry herb seeds.