Dehydrating Food for Beginners: Home Preservation Guide Made Easy
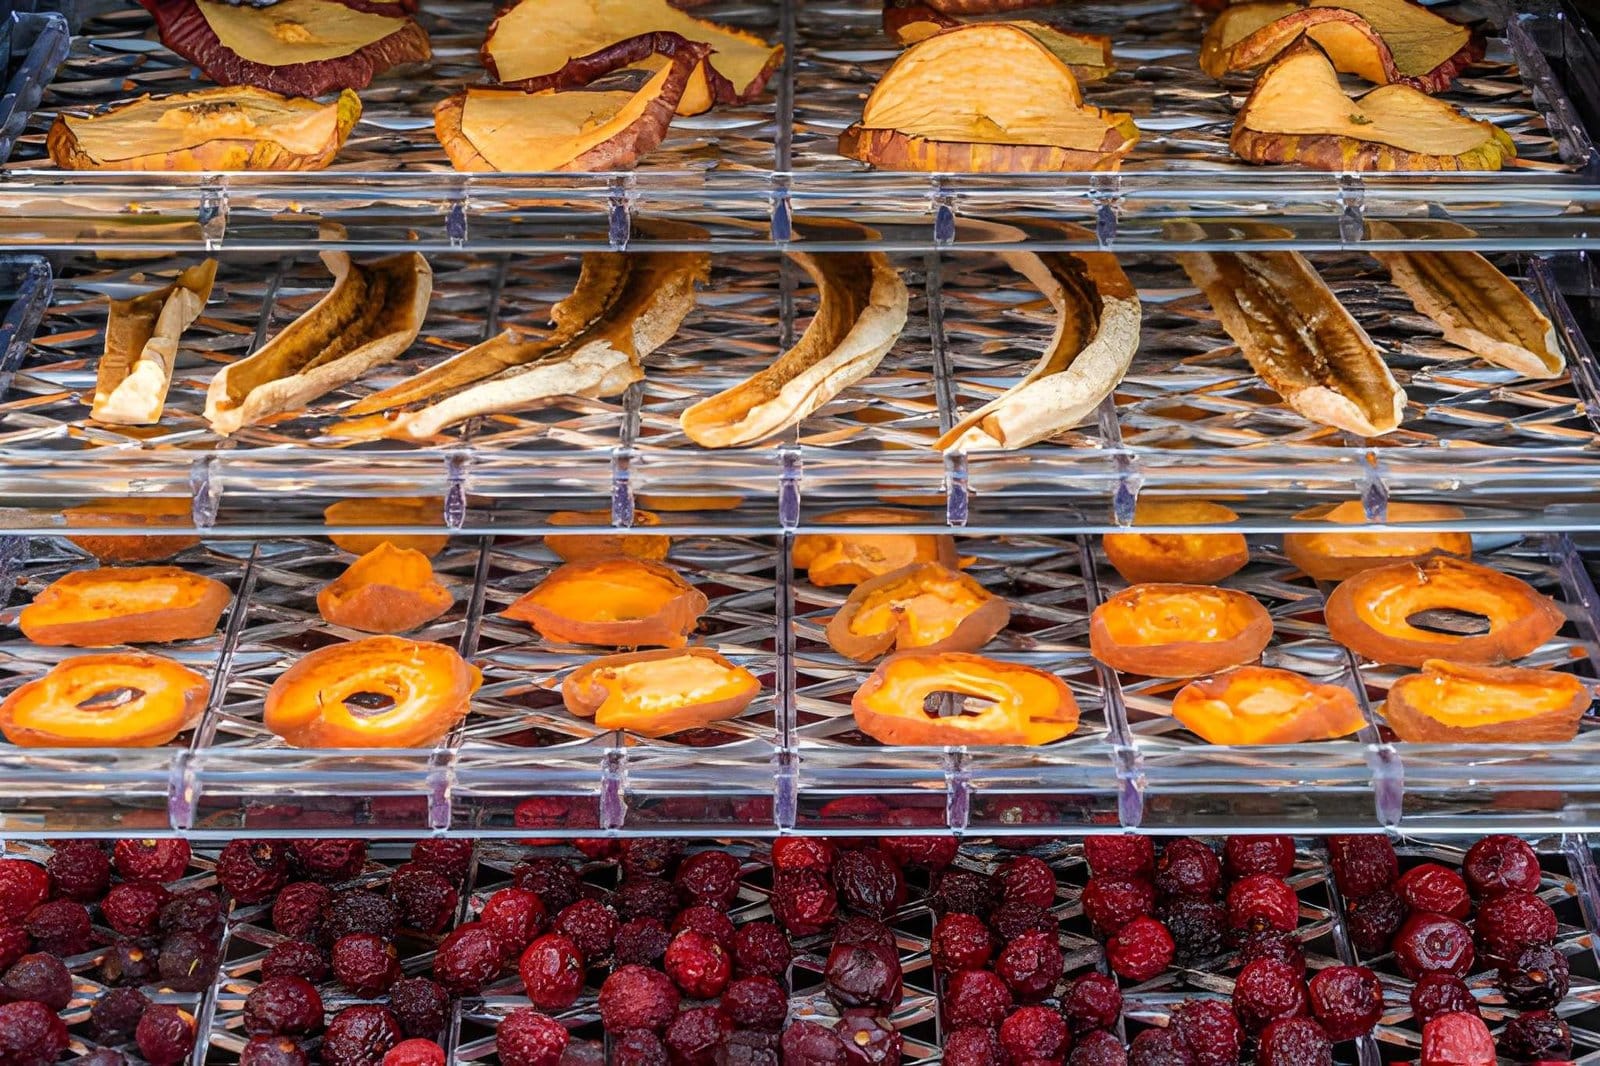
Dehydrating food for beginners becomes much easier when you understand that successful drying depends on three things: suitable preparation, controlled heat with steady airflow, and removing enough moisture before storage. A home dehydrator can preserve fruits, vegetables, herbs, fruit leather, and safely prepared jerky while making the finished food lighter and more compact.
Dehydration is simple in principle, but it should not be treated as leaving food somewhere warm until it looks dry. Different foods require different preparation, temperatures, dryness tests, and storage practices. Meat and poultry carry additional safety risks that cannot be managed by low-temperature drying alone. This guide explains the complete beginner process, from choosing equipment to checking stored food for moisture.
In Short
Food dehydration preserves food by removing enough moisture to limit the growth of microorganisms and slow quality loss. For dependable home results, prepare sound food according to a tested food-specific method, cut it uniformly, arrange it in a single layer, dry it at the recommended temperature, test several pieces for dryness, cool completely, condition dried fruit when required, and package it immediately in clean moisture-resistant containers.
Key Takeaways
- An electric dehydrator with controlled heat and a fan provides more consistent conditions than uncontrolled air or sun drying.
- Uniform pieces dry more evenly, while crowded or overlapping pieces slow moisture removal.
- Many vegetables need blanching; some fruits benefit from an anti-darkening pretreatment.
- Beef and other meat must reach 160°F, and poultry 165°F, before dehydration when following USDA jerky guidance.
- Cool dried food completely, condition fruit for 7–10 days, and discard any food that develops mold.
What Food Dehydration Does
Dehydration removes moisture by combining gentle heat with moving air. The heat encourages water in the food to evaporate, while airflow carries that moisture away. When sufficient water has been removed, microorganisms have less available moisture for growth and natural quality changes occur more slowly.
Drying does not sterilize food. Some microorganisms may survive the process, and dried food can absorb moisture again after packaging. That is why clean preparation, food-specific pretreatments, correct drying conditions, adequate dryness, and moisture-resistant storage all matter.
Dehydration is one option within a larger preservation system. The best method depends on the food and how you plan to use it. This overview of beginner food-preservation methods explains how drying compares with freezing, canning, fermenting, pickling, and other approaches.
Benefits and Limitations of Dehydrating Food
Benefits
- Dried foods are lightweight and require less storage space than fresh or frozen foods.
- A dehydrator can preserve small harvests without heating a large canning kettle.
- Fruits, vegetables, herbs, fruit leathers, and properly prepared jerky offer many possible uses.
- Small batches make it possible to preserve produce as it becomes ready.
- Clear jars make it easy to notice moisture or quality changes during storage.
Considerations
- Drying can take many hours and uses electricity.
- Texture, color, and flavor change during dehydration.
- Trays provide limited capacity during a large harvest.
- Some foods require blanching, anti-darkening treatment, conditioning, or additional safety steps.
- Warm or humid storage conditions shorten quality life and increase the risk of moisture problems.
Dehydration complements rather than replaces every other preservation method. Tomatoes may be dried for soups and sauces, canned using a tested recipe, or frozen for another use. Choose the process according to the final texture, storage conditions, available equipment, and food-safety requirements you can reliably maintain.
Equipment You Need to Dehydrate Food
An Electric Food Dehydrator
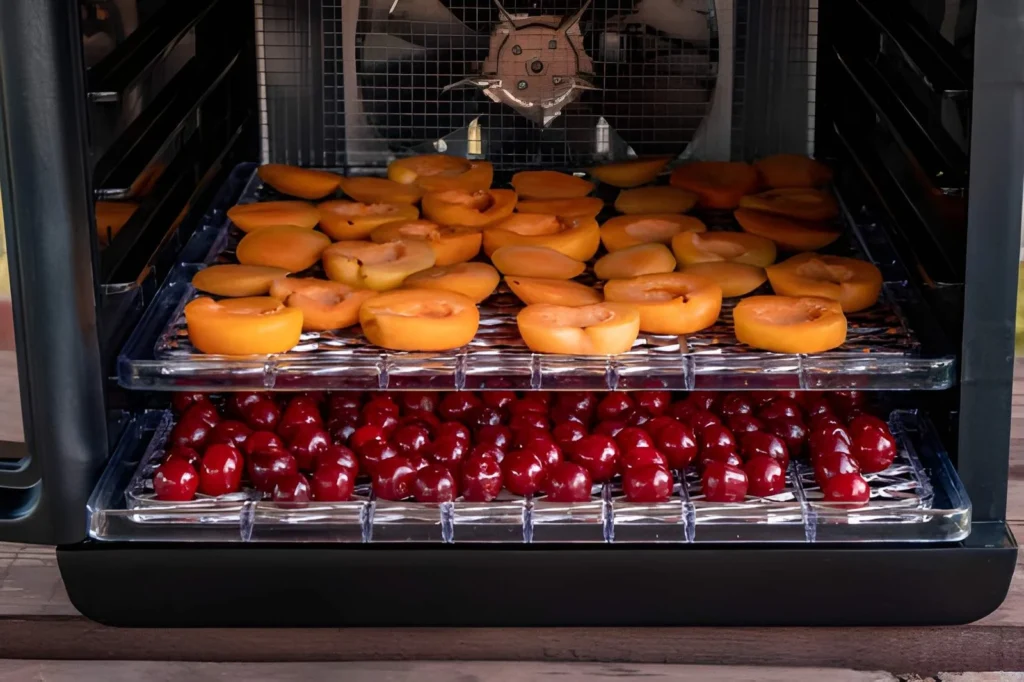
A dedicated electric dehydrator is the most practical starting appliance for many beginners because it combines a heating element, fan, vents, and trays. Look for an enclosed heating element, adjustable thermostat, effective airflow, washable food-safe trays, and instructions that explain the appliance’s temperature range.
A timer or automatic shutoff is convenient, but it does not determine whether food is dry. Drying time changes with food thickness, initial moisture, tray loading, humidity, and the dehydrator itself. A timer should remind you to inspect the food rather than replace a physical dryness test.
Horizontal-airflow units generally move air across the trays and can reduce the need to rotate them. Vertical-airflow models move air upward or downward and may require more tray management. Either design can work when it maintains the needed temperature and you follow its instructions. A dependable adjustable-temperature food dehydrator is more useful than a model with only an on-and-off switch when you plan to dry several types of food.
Basic Preparation and Storage Supplies
- A sharp stainless-steel knife and stable cutting board
- A vegetable peeler, corer, or slicer when appropriate
- Measuring spoons and a kitchen timer
- A blanching pot, basket, and bowl for cooling vegetables
- Flexible mesh liners for small pieces
- Solid fruit-leather sheets designed for the dehydrator
- A calibrated food thermometer for jerky preparation
- Clean, dry jars or other moisture-resistant food-storage containers
- Labels and a permanent marker
A mandoline-style food slicer can make uniform pieces quickly, but its blade can cause serious cuts. Always use the supplied guard and follow the manufacturer’s safety instructions. A knife is slower but perfectly suitable when it produces consistent slices.
Which Foods Are Best for Beginners?
Start with one uncomplicated food rather than loading every tray with different ingredients. Apples, bananas, strawberries, tomatoes, herbs, and certain vegetables are familiar beginner choices, but each still needs its own preparation and dryness guidance.
| Food category | Beginner examples | Typical preparation | Dryness target |
|---|---|---|---|
| Fruit | Apples, bananas, berries | Wash, trim, slice; pretreat when recommended | Pliable and free of visible moisture |
| Vegetables | Carrots, green beans, peppers | Wash, cut uniformly; blanch when required | Brittle or crisp |
| Herbs | Basil, mint, thyme | Rinse, remove damaged material, dry surface moisture | Crisp and easily crumbled |
| Fruit leather | Apple, berry, peach purée | Purée and spread evenly on a suitable sheet | Flexible with no wet or sticky center |
| Jerky | Lean beef or poultry | Follow tested meat-specific heating and drying instructions | Cracks but does not break when bent |
Avoid experimenting with high-fat foods, dairy products, eggs, complete mixed meals, or foods for which you cannot find a reliable home-dehydration procedure. Fat can become rancid, and complicated mixtures may not dry evenly. Home freeze-drying and conventional dehydration are also different processes with different equipment and safety controls.
How to Dehydrate Food: The Basic Process
1. Begin With Sound, Fresh Food
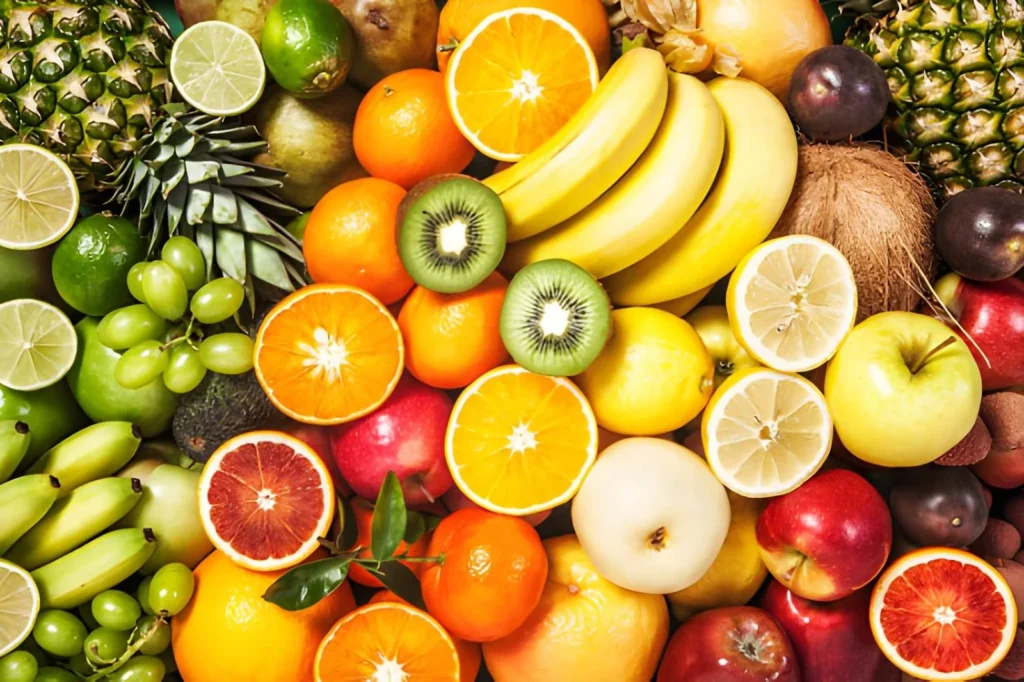
Select produce at suitable ripeness and remove moldy, badly bruised, decayed, or insect-damaged portions. Drying cannot restore poor-quality food or make spoiled food safe. Wash your hands, sanitize the work area as appropriate, and use clean utensils and trays.
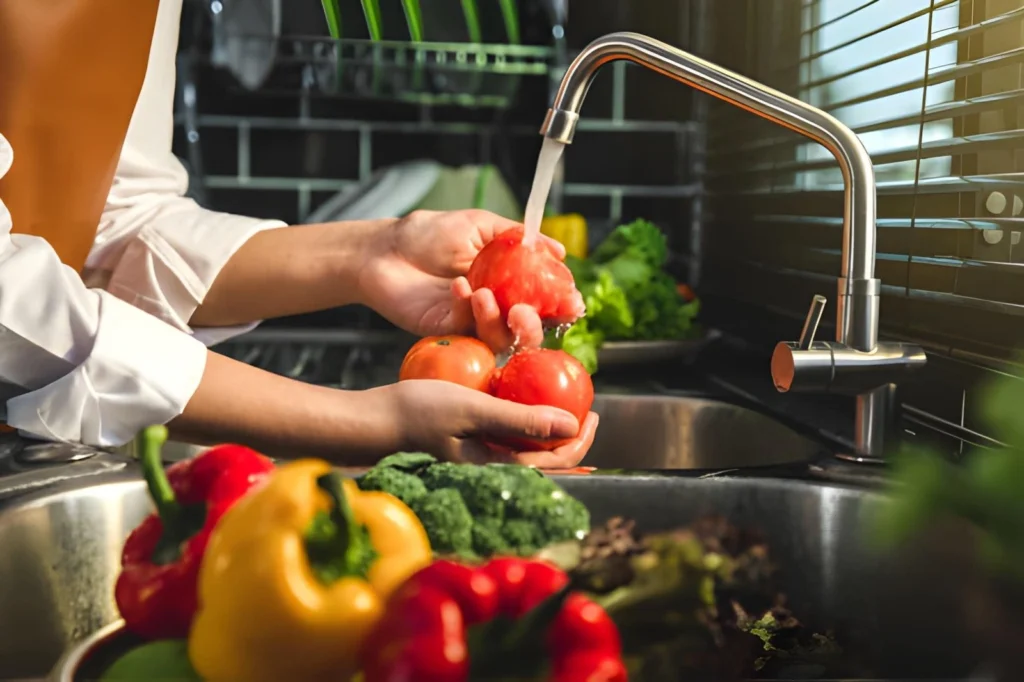
Rinse produce under clean running water before cutting it. Do not use soap or household detergent on fruits and vegetables. Keep raw meat and poultry, their utensils, and their preparation surfaces separate from produce and ready-to-eat food.
2. Cut Pieces Evenly
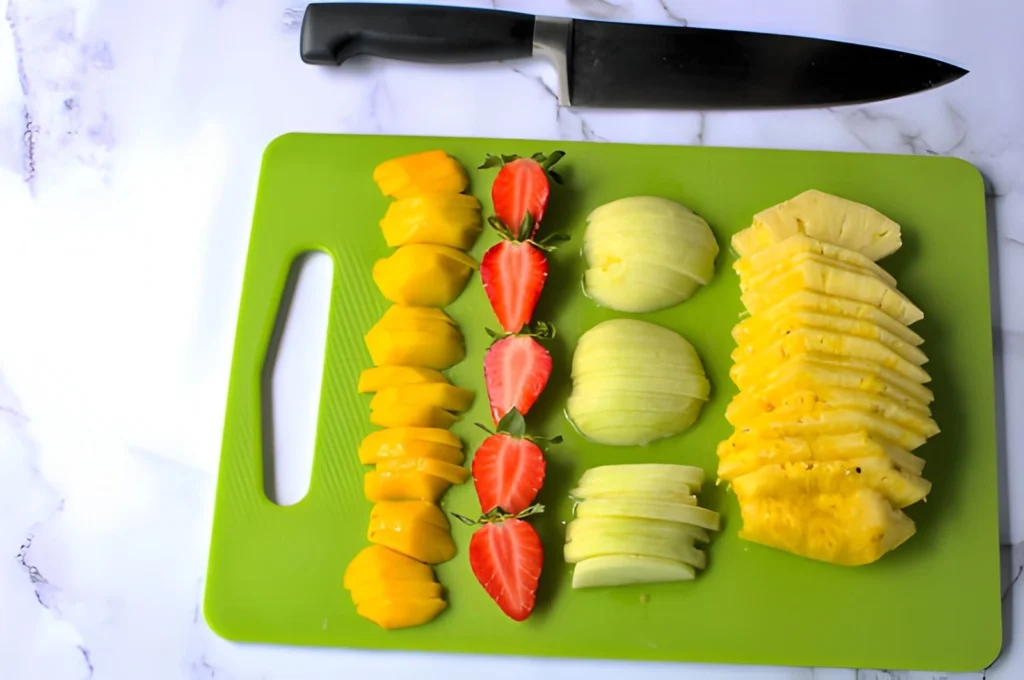
Uniform pieces finish closer to the same time. Thick pieces remain moist inside after thin pieces are finished, which can lead either to overdrying part of the batch or packaging pieces that still contain too much moisture.
Follow the slice thickness in the tested instructions for that food. Do not assume one thickness works for everything. Remove cores, pits, stems, peels, or seeds when the specific preparation calls for it.
3. Apply the Recommended Pretreatment
Many vegetables should be water- or steam-blanched for a specified time before drying. Blanching can slow enzyme activity, shorten drying time, help protect color and flavor, and improve rehydration. The correct time depends on the vegetable, preparation, and blanching method, so use food-specific tested guidance rather than one universal time.
Some light-colored fruits benefit from an ascorbic-acid or other recommended anti-darkening treatment. Pretreatment mainly protects quality; it does not compensate for inadequate drying or unsafe handling.
4. Arrange Food in a Single Layer
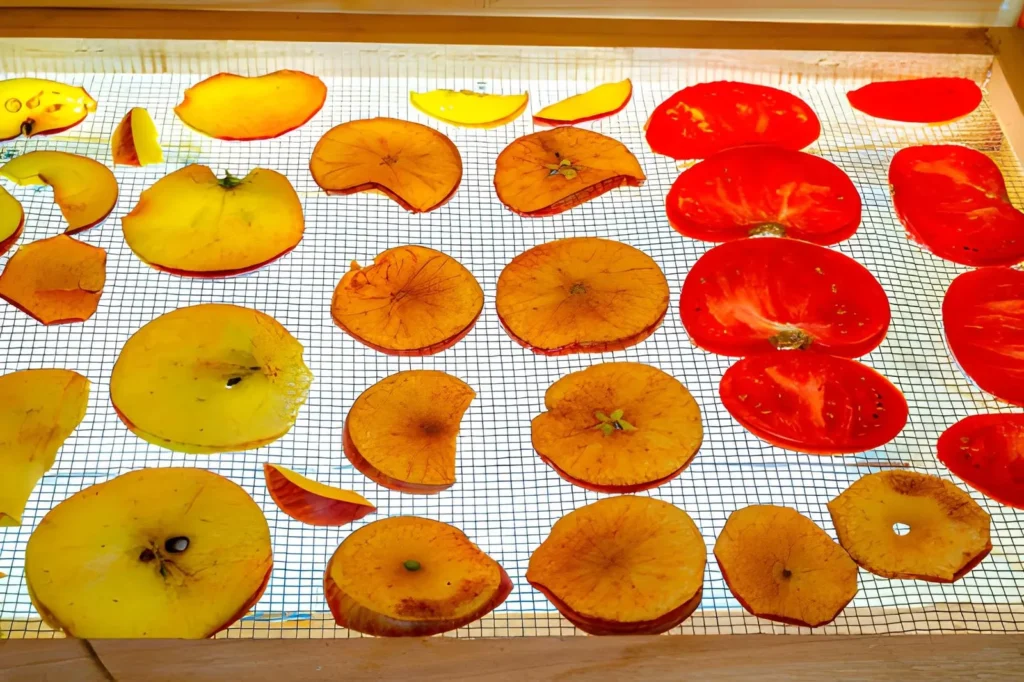
Spread pieces evenly without piling or overlapping unless the tested directions say otherwise. Leave enough room for air to move around the food. Place tiny pieces on food-safe mesh liners and use a solid sheet intended for fruit leather or purées.
Foods with strong aromas, high moisture, or very different drying temperatures are often easier to process in separate batches. This prevents flavor transfer and allows each food to finish under suitable conditions.
5. Set the Appropriate Temperature
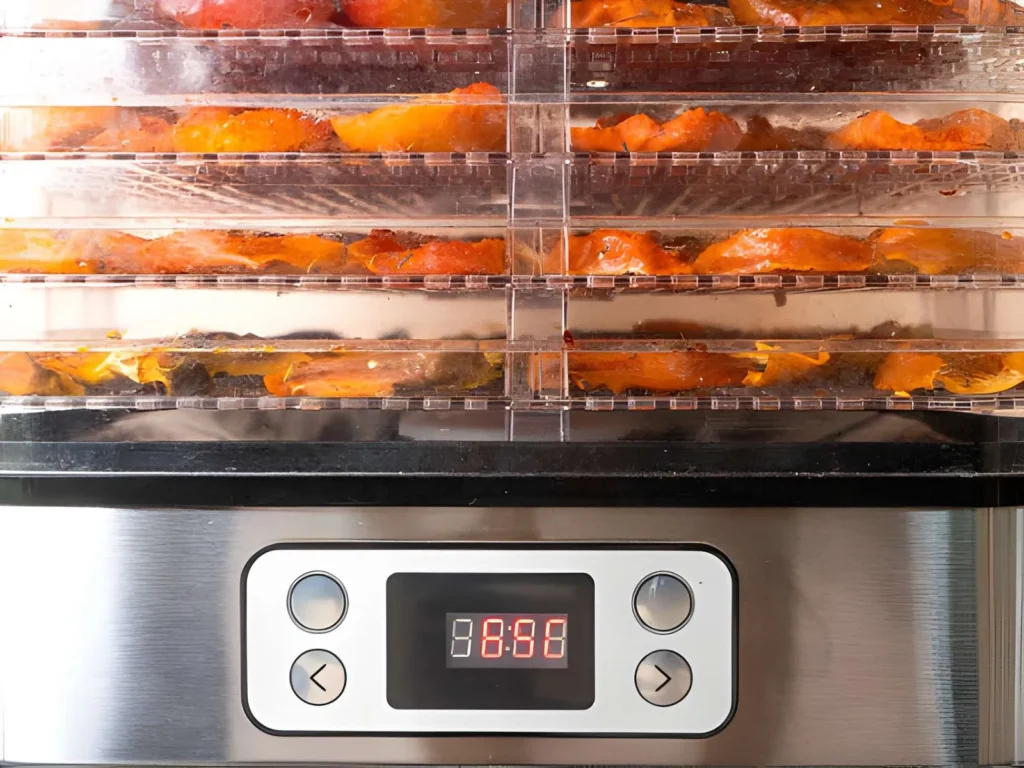
Use the tested temperature for the exact food and follow the dehydrator instructions. Herbs are commonly dried at lower temperatures than fruit leather or jerky. The National Center for Home Food Preservation recommends approximately 95–115°F for herbs, with temperatures as high as 125°F sometimes needed in humid conditions. Its tested fruit-leather directions use 140°F.
Avoid turning the heat excessively high to finish sooner. The outside can harden while moisture remains trapped inside, a problem often called case hardening. Insufficient heat or airflow can also allow food to remain warm and moist for too long.
Use a food-specific tested method
Dehydrator charts vary because foods, slice sizes, pretreatments, and appliances differ. Do not treat a general temperature chart as a complete recipe. Follow current guidance from the National Center for Home Food Preservation, USDA, or your Cooperative Extension service for the exact food being dried.
6. Check Progress and Rotate When Needed
Begin checking near the earliest expected time, but judge the food by dryness rather than the clock. Move or rotate trays if your dehydrator manual recommends it. Separate pieces that stick together and remove finished pieces while allowing thicker ones to continue drying.
To test accurately, remove several representative pieces and let them cool before checking. Warm food often feels softer and more moist than it will after cooling.
7. Cool, Condition, Package, and Label
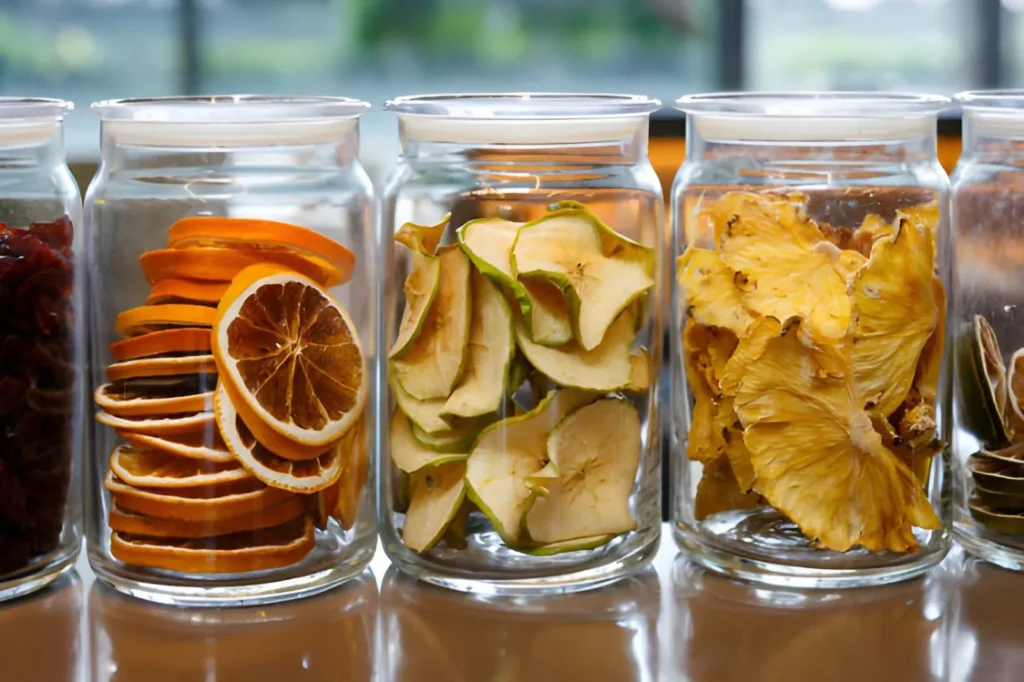
Cool dried food completely before packaging. Warm food can create condensation inside a closed container, returning moisture to the food and creating conditions in which mold can develop.
Condition dried fruit for 7–10 days as explained later in this guide. Once the food passes its final dryness check, package it promptly in clean, dry containers. Label each container with the food, pretreatment when useful, and packaging date.
How to Tell When Dehydrated Food Is Done
Dryness is food-specific. Test multiple pieces from different trays and locations because a single piece may not represent the batch. Let samples cool before judging them.
Dried Fruit
Properly dried fruit is generally pliable and should not release visible moisture when cut or pressed. Pieces may remain slightly tacky, depending on the fruit, but they should not contain wet pockets. The National Center for Home Food Preservation describes home-dried fruit as having about 20 percent moisture before conditioning.
Dried Vegetables
Vegetables should generally be brittle or crisp. The National Center describes properly dried vegetables as containing about 10 percent moisture. Because they are dried more thoroughly than fruit, vegetables do not normally require conditioning.
Dried Herbs
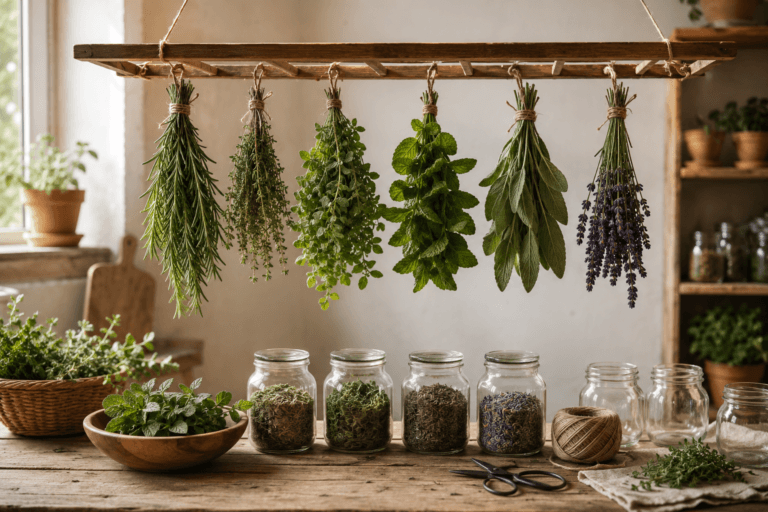
Leaves should be crisp and crumble readily, while stems should break rather than bend. Package herbs whole when practical and crush them when cooking to help retain aroma longer. For herb-specific harvesting and storage guidance, follow this complete guide to drying herbs at home.
Fruit Leather
Fruit leather should be flexible and peel away from its drying surface without a wet or sticky center. The National Center recommends spreading purée about 1/8 inch thick and drying fruit leather at 140°F. Its tested guidance estimates approximately 6–8 hours in a dehydrator, but actual time still depends on the product and appliance.
Jerky
Properly dried jerky should crack but not break when bent. Surface dryness does not prove that the meat received the required pathogen-control treatment, so appearance and texture cannot replace heating meat or poultry to the specified safe internal temperature before drying.
Conditioning Dried Fruit Before Storage
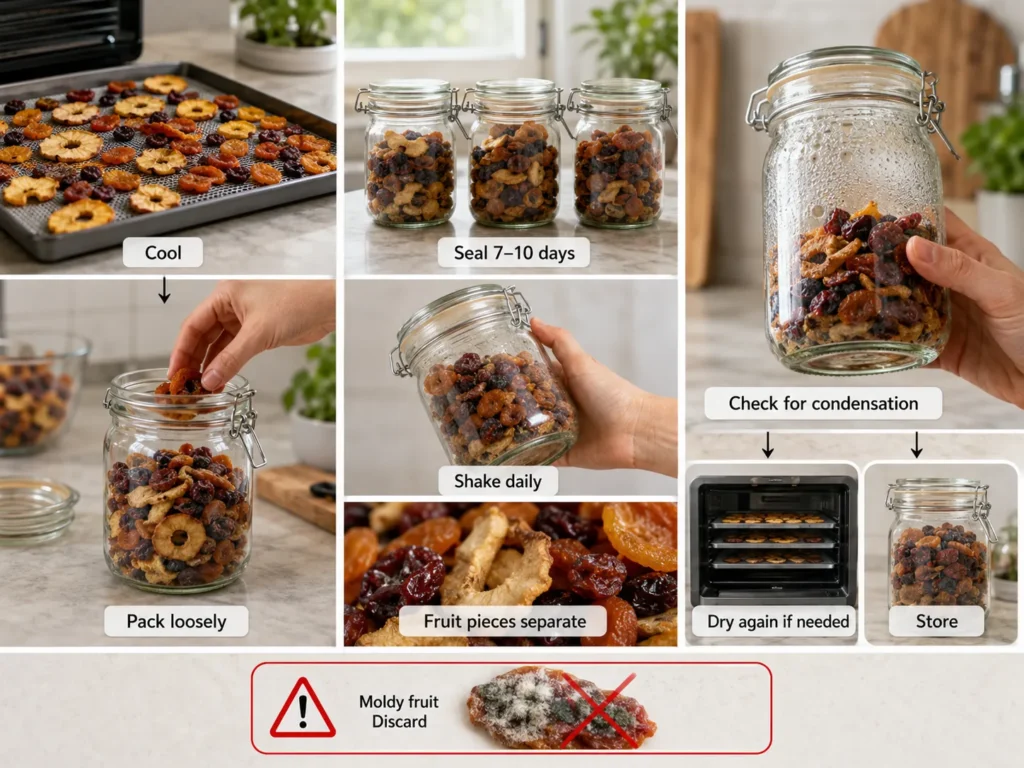
Pieces from the same fruit batch may contain different amounts of remaining moisture. Conditioning allows moisture to equalize between pieces and gives you an opportunity to detect condensation before long-term storage.
- Cool the dried fruit completely.
- Pack it loosely in clean plastic or glass containers.
- Seal the containers and leave them for 7–10 days.
- Shake the containers daily to separate the pieces.
- Check every day for condensation or visible moisture.
- If condensation appears, return the fruit to the dehydrator for further drying.
- After successful conditioning, package the fruit for storage.
Conditioning is not a way to rescue spoiled or moldy fruit. Discard any food that develops mold. Do not taste it or remove only the visibly affected pieces.
How to Store Dehydrated Food
Dried food readily absorbs moisture from the air, so package it as soon as it has cooled and completed any required conditioning. Use clean, dry home-canning jars, tight-lidded freezer containers, heavy freezer bags, or another food-safe moisture-resistant system. Vacuum packaging can reduce exposure to air and moisture, but it does not make inadequately dried or contaminated food safe.
Pack food in amounts you can use reasonably soon after opening. Every opening exposes the remaining food to air and humidity. Store packages in a cool, dry, dark location and label them clearly. For a more organized rotation system, use this guide to creating a food-preservation pantry.
The National Center for Home Food Preservation gives a broad recommended storage range of four months to one year for dried foods, with temperature strongly affecting quality. It notes that most dried fruit may keep about one year at 60°F but about six months at 80°F, while vegetables have approximately half the storage life of fruit. These are quality estimates, not a guarantee for every food or package.
Inspect stored food regularly. Condensation, unexpected softness, off odors, insect activity, package damage, or mold indicate a problem. Food that has absorbed moisture but shows no spoilage may be used promptly or redried and repackaged. Moldy dried food must be discarded.
Important Jerky Safety for Beginners
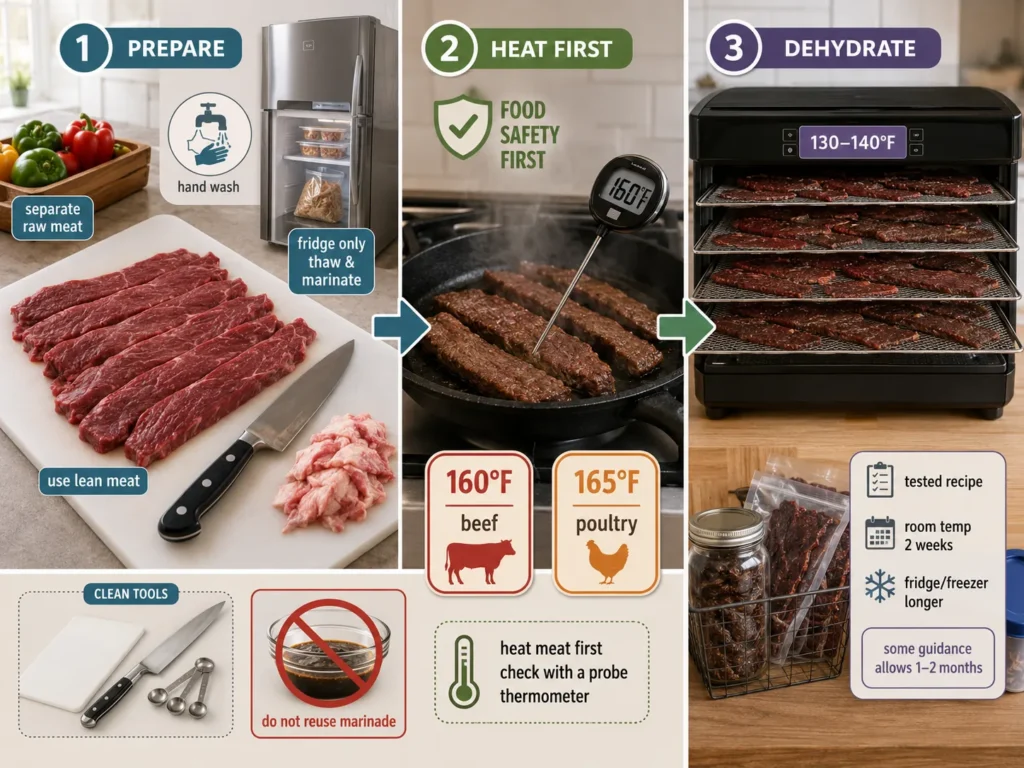
Jerky requires more than placing raw meat in a dehydrator. USDA warns that pathogens such as Salmonella and E. coli O157:H7 may survive traditional low-temperature drying. As the surface dries, surviving bacteria can become more heat resistant.
USDA guidance recommends heating meat to 160°F and poultry to 165°F before dehydration, verifying the temperature with a food thermometer. After that heating step, maintain a dehydrator temperature of 130–140°F during drying. Use an appliance capable of holding the required temperature.
- Wash hands and use clean equipment before and after handling raw meat.
- Keep raw meat separate from produce and ready-to-eat foods.
- Thaw meat in the refrigerator rather than on the counter.
- Marinate meat in the refrigerator.
- Do not reuse marinade that contacted raw meat.
- Use lean meat and remove visible fat because fat becomes rancid readily.
- Measure internal temperature with a clean, accurate food thermometer.
- Follow a tested jerky procedure rather than improvising thickness, heating, or drying conditions.
Low-temperature drying alone does not make raw meat safe
Before dehydrating jerky, heat meat to 160°F and poultry to 165°F as measured with a food thermometer, following current USDA guidance. Then maintain 130–140°F during dehydration. Sun drying is not recommended for meat, and marinade does not replace the required heat treatment.
Storage recommendations for homemade jerky differ among authoritative guidance depending on the validated process. USDA consumer guidance states that home-dried jerky may be stored for 1–2 months, while the National Center recommends only two weeks at room temperature for its jerky method and refrigeration or freezing for better quality and longer storage. Beginners should use the more conservative directions attached to the tested recipe they followed.
Can You Use an Oven or the Sun?
Oven Drying
An oven may be used for certain tested drying procedures if it can maintain the required low temperature and provide adequate air circulation. Many ovens do not hold low temperatures accurately, and oven drying can take longer and use more energy than a dehydrator.
Check the oven with a separate thermometer and follow food-specific guidance. Never modify the oven, prop its door open, or operate it in a manner prohibited by the manufacturer.
Sun Drying
Outdoor drying is difficult to control. The National Center states that fruits may be sun-dried only when conditions are favorable—hot, dry, and breezy, with a minimum temperature of 85°F and humidity below 60 percent preferred. Food must also be protected from insects, birds, dust, moisture, and unsuitable screening materials.
Vegetables, except vine-dried beans, and meats are not recommended for outdoor drying. Most beginners will obtain more predictable results from a thermostatically controlled electric dehydrator.
Myth
Any warm, sunny location can safely dehydrate every type of food
Reality
Outdoor temperature, humidity, airflow, contamination, nighttime condensation, and food composition all affect safety and quality. Fruit may be suitable only under specific controlled conditions, while meat and most vegetables should be dried indoors using a tested method.
Common Food Dehydration Mistakes
- Starting with damaged food: drying does not reverse spoilage or improve poor-quality ingredients.
- Cutting uneven pieces: thin pieces overdry while thick pieces remain moist inside.
- Skipping required pretreatment: vegetables may lose quality, dry poorly, or rehydrate badly.
- Overcrowding trays: overlapping blocks airflow and produces uneven drying.
- Raising the temperature excessively: the outside may harden before the center dries.
- Trusting time alone: humidity, thickness, load, and equipment change the drying time.
- Testing food while hot: warm pieces can feel softer than fully cooled samples.
- Packaging warm food: trapped condensation creates a moisture problem.
- Skipping fruit conditioning: uneven remaining moisture may not be detected before storage.
- Ignoring stored food: dried food still needs regular checks for moisture, insects, and mold.
- Drying raw meat without the required heat treatment: low dehydrator temperatures may not destroy pathogens.
Frequently Asked Questions
Is dehydrating food safe for beginners?
Yes, when you use sound food, clean equipment, a controlled appliance, and current tested instructions for the specific food. Jerky requires additional heat treatment and temperature verification. Improvised methods and visual appearance alone are not reliable safety controls.
How long does food take to dehydrate?
Drying may take several hours to more than a day depending on the food, slice thickness, pretreatment, initial moisture, tray load, dehydrator, temperature, and room humidity. Use the tested time as a checking range, then confirm dryness physically.
Can different foods be dehydrated at the same time?
Only when their recommended temperatures, aromas, drying characteristics, and food-safety requirements are compatible. Beginners usually get clearer results by drying one food per batch. Never allow raw meat or poultry to contaminate produce or ready-to-eat food.
Do you need to blanch vegetables before dehydrating them?
Many vegetables benefit from or require blanching before drying, but the method and time vary by vegetable and cut size. Follow a tested food-specific procedure. Some foods, including onions, peppers, and certain mushrooms, may have different directions.
Why did mold grow on dehydrated food?
Possible causes include incomplete drying, packaging the food while warm, skipping fruit conditioning, moisture entering the package, or storage in a warm or humid location. Discard moldy dried food rather than tasting it or removing the visible mold.
Are oxygen absorbers required for dehydrated food?
No. The essential requirements are adequate drying, complete cooling, clean moisture-resistant packaging, and cool, dry, dark storage. Additional packaging aids must be food-safe and used according to their instructions, but they cannot correct inadequate drying or make unsafe food safe.
Can dehydrated food be rehydrated?
Many dried fruits and vegetables can be soaked or cooked in water. The National Center notes that dried vegetables used in soup may be soaked for approximately 1–2 hours and that the soaking water can be used in cooking. Exact rehydration depends on the food and intended recipe.
Start With One Simple Dehydration Project
Food dehydration is easiest to learn one ingredient at a time. Choose a familiar fruit, vegetable, or herb; locate a current tested procedure; prepare uniform pieces; and keep notes about pretreatment, temperature, drying time, texture, and yield.
The most important work happens after the dehydrator stops. Test several cooled pieces, condition fruit when required, package the food promptly, and inspect it during storage. Once you can recognize proper dryness and manage moisture reliably, you can expand to other foods while keeping each process specific and safe.
If you want to explore a preservation method that produces a different texture and use, the next step may be learning the fundamentals of home canning equipment and safety or following a tested water-bath canning guide for beginners.
Sources and Further Reading
- National Center for Home Food Preservation: Drying Foods — provides research-based home-drying methods and food-specific guidance.
- National Center for Home Food Preservation: Food Dehydrators — supports dehydrator features, airflow designs, temperature control, and capacity guidance.
- National Center for Home Food Preservation: Packaging and Storing Dried Foods — supports cooling, conditioning fruit, testing vegetable dryness, packaging, storage conditions, and moisture checks.
- National Center for Home Food Preservation: Sun Drying — supports the temperature, humidity, contamination, and food-suitability limitations of outdoor drying.
- National Center for Home Food Preservation: Drying Herbs — supports herb preparation and dehydrator temperature guidance.
- National Center for Home Food Preservation: Fruit Leathers — supports purée depth, drying temperature, approximate time, and dryness testing.
- USDA Food Safety and Inspection Service: Jerky and Food Safety — supports safe handling, precooking temperatures, dehydration temperatures, and jerky storage guidance.