10 Simple Seed Starting Indoors Tips for a Successful Garden
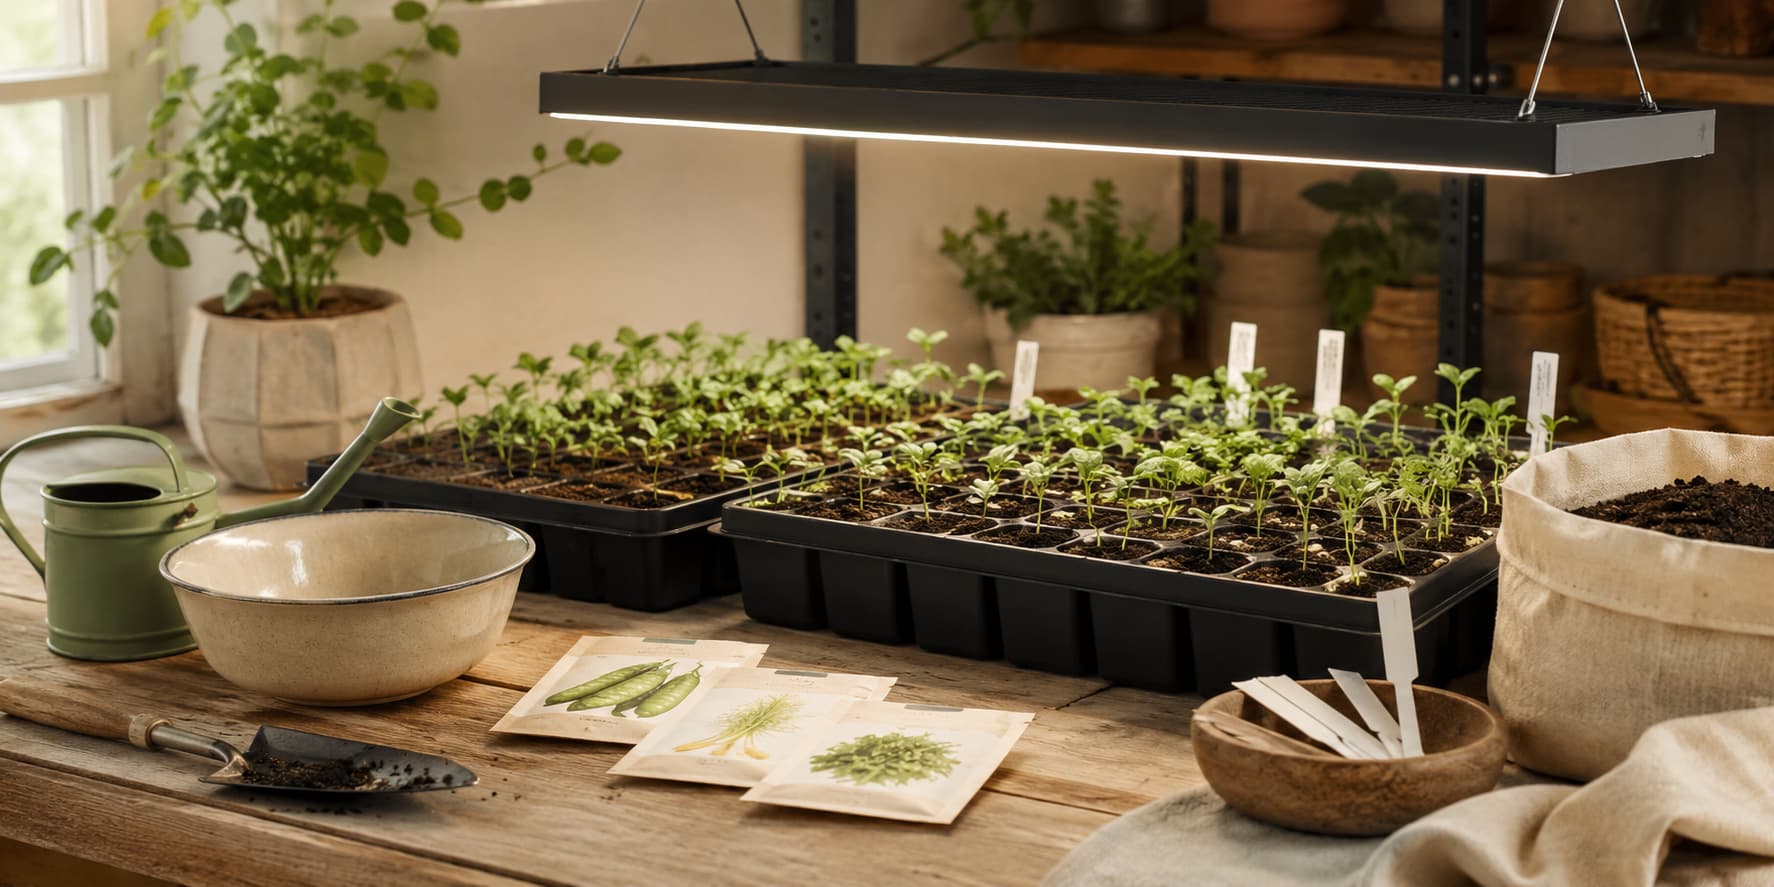
Seed starting indoors is one of the best ways to begin a productive garden before the outdoor growing season fully arrives. Instead of waiting for warm weather, you can start vegetables, herbs, and flowers inside your home and give them a strong head start before transplanting them into raised beds, containers, or garden rows.
For beginner gardeners, seed starting can feel confusing at first. You may wonder when to start seeds, what trays to use, how much light seedlings need, why some seeds do not sprout, or why young plants become tall and weak. The good news is that indoor seed starting becomes much easier once you understand a few simple basics.
You do not need a greenhouse or expensive equipment to start. A small shelf, clean containers, seed starting mix, good light, water, labels, and a little daily attention are enough to grow strong seedlings at home.
This guide will show you how to start seeds indoors step by step, what supplies you need, which seeds are best to start inside, how to care for seedlings, and how to avoid the most common beginner mistakes.
Affiliate Disclosure
This article may contain affiliate links. If you purchase through these links, Dreamsteading may earn a small commission at no extra cost to you. I only recommend tools and supplies that make seed starting easier, more practical, or more beginner-friendly.
Why Start Seeds Indoors?
Starting seeds indoors gives you more control over the early growing stage. Instead of depending only on garden center plants, you can choose the varieties you want and grow them from the beginning.
Indoor seed starting can help you:
- Start your garden earlier
- Save money on transplants
- Grow more plant varieties
- Control seedling care
- Avoid weak store-bought plants
- Grow vegetables, herbs, and flowers from seed
- Prepare for raised beds, containers, and small gardens
- Build more self-sufficiency skills
If you are planning your first vegetable garden, starting seeds indoors pairs well with 10 Easy Vegetables to Grow for Beginners, especially when you want to grow tomatoes, peppers, herbs, lettuce, and other beginner-friendly crops.
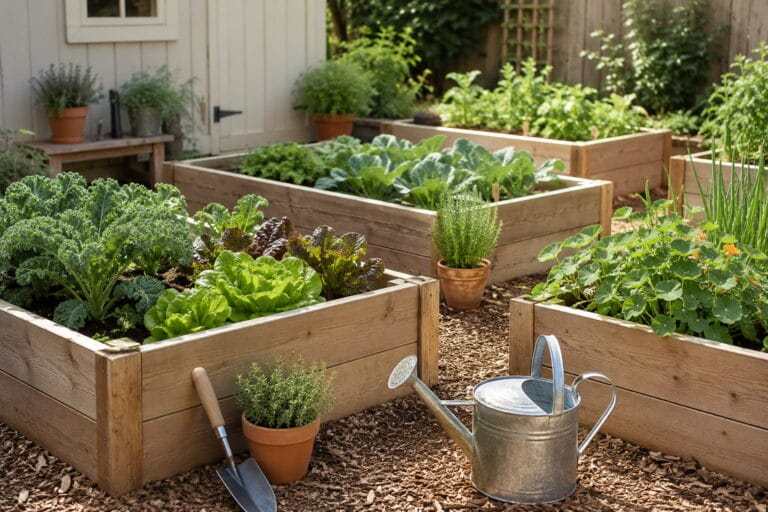
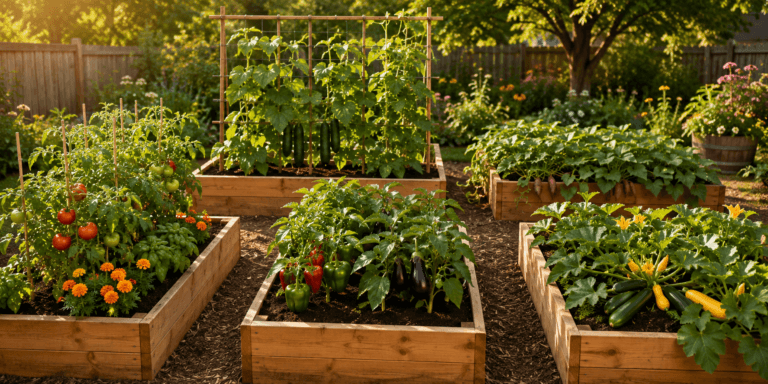
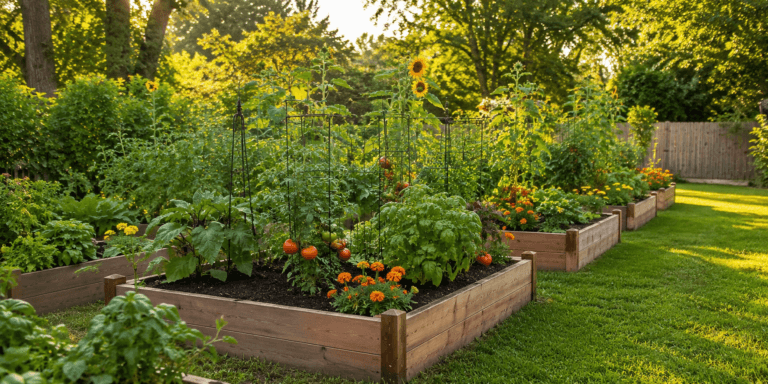
Seed starting is also useful if you are planning raised garden beds for summer planting, because you can have young plants ready to move outside when the weather is right.
What Seeds Should You Start Indoors?
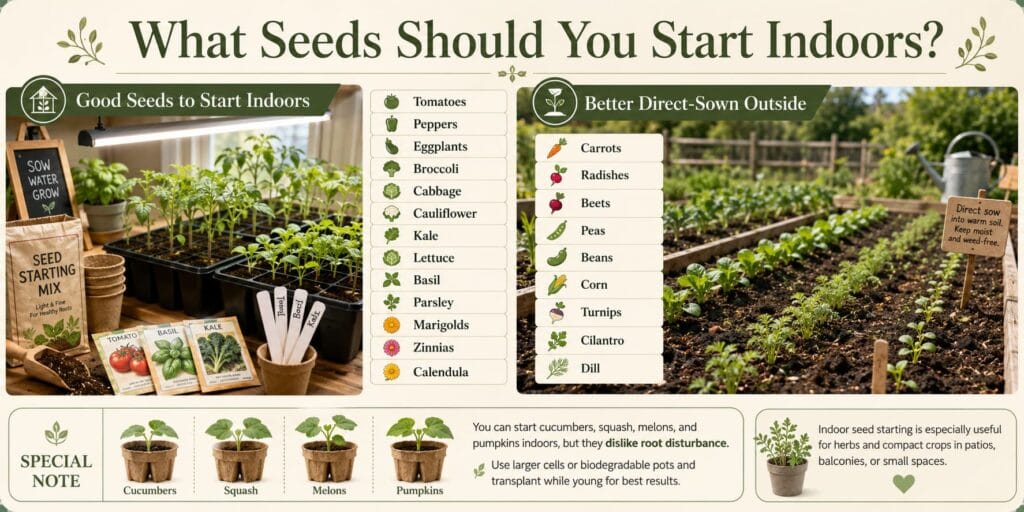
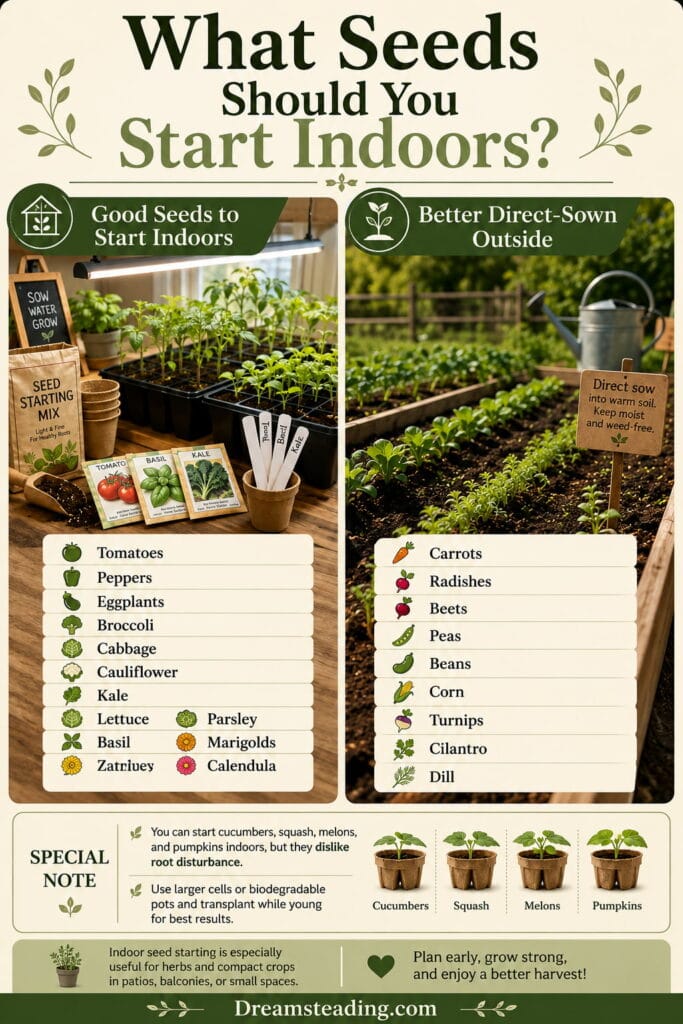
Not every seed needs to be started indoors. Some plants transplant well, while others prefer to be sown directly into the garden.
Good seeds to start indoors include:
- Tomatoes
- Peppers
- Eggplants
- Broccoli
- Cabbage
- Cauliflower
- Kale
- Lettuce
- Basil
- Parsley
- Marigolds
- Zinnias
- Calendula
Seeds that are often better direct-sown outside include:
- Carrots
- Radishes
- Beets
- Peas
- Beans
- Corn
- Turnips
- Cilantro
- Dill
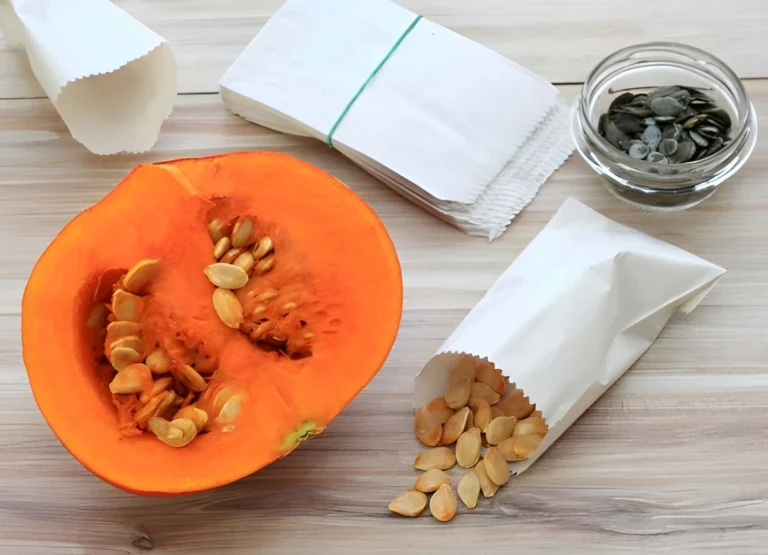
Some crops, like cucumbers, squash, melons, and pumpkins, can be started indoors, but they do not like root disturbance. If you start them indoors, use larger cells or biodegradable pots and transplant them carefully while young.
For small-space gardeners, indoor seed starting is helpful for herbs and compact crops. If you are growing on a patio or balcony, you can combine this with a balcony herb garden or a vertical herb garden to make the most of limited space.
When to Start Seeds Indoors
The best time to start seeds indoors depends on your last expected frost date and the crop you are growing.
Many seed packets will say something like:
“Start indoors 6–8 weeks before your last frost date.”
That means you count backward from the average last frost date in your area.
As a simple beginner guide:
| Crop | When to Start Indoors |
|---|---|
| Tomatoes | 6–8 weeks before last frost |
| Peppers | 8–10 weeks before last frost |
| Eggplants | 8–10 weeks before last frost |
| Broccoli | 6–8 weeks before transplanting |
| Cabbage | 6–8 weeks before transplanting |
| Lettuce | 4–6 weeks before transplanting |
| Basil | 6–8 weeks before transplanting |
| Marigolds | 4–6 weeks before transplanting |
Do not start seeds too early. This is one of the most common beginner mistakes. Seedlings that stay indoors too long can become rootbound, weak, stretched, or stressed before the garden is ready.
It is better to have young, sturdy seedlings than large, tired plants that have been waiting too long in small containers.
Supplies You Need for Seed Starting Indoors
You do not need a complicated setup. Start simple and upgrade later if you enjoy the process.
Basic seed starting supplies include:
- Seeds
- seed starting trays
- seed starting mix
- grow lights for seedlings
- seedling heat mat, optional
- plant labels
- Spray bottle or gentle watering can
- Water-tight tray
- Clear humidity dome or plastic cover
- Small fan, optional
- Timer for lights
- Larger pots for potting up seedlings
A seed starting kit can be useful for beginners because it often includes trays, cells, humidity domes, and a base tray together.
Use seed starting mix instead of heavy garden soil. Garden soil can compact in trays, drain poorly, and may contain pests or disease organisms. A light seed starting mix holds moisture while still allowing air around young roots.
Step 1: Choose the Right Containers
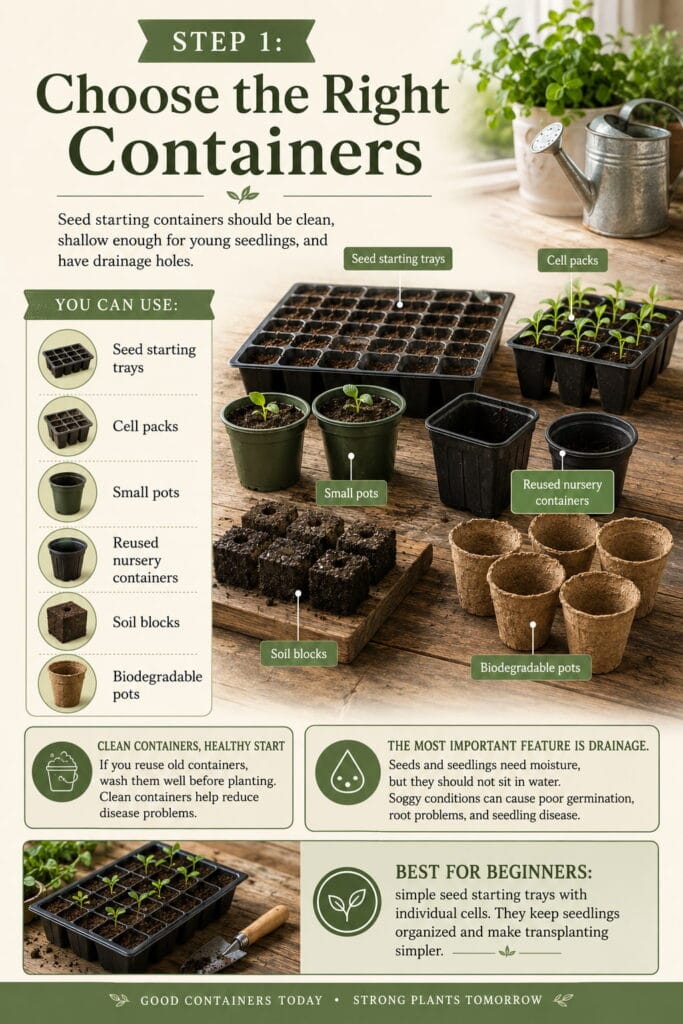
Seed starting containers should be clean, shallow enough for young seedlings, and have drainage holes.
You can use:
- Seed starting trays
- Cell packs
- Small pots
- Reused nursery containers
- Soil blocks
- Biodegradable pots
If you reuse old containers, wash them well before planting. Clean containers help reduce disease problems.
The most important feature is drainage. Seeds and seedlings need moisture, but they should not sit in water. Soggy conditions can cause poor germination, root problems, and seedling disease.
For beginners, simple seed starting trays with individual cells are usually easiest. They keep seedlings organized and make transplanting simpler.
Step 2: Use a Good Seed Starting Mix
Seed starting mix is different from regular garden soil. It is lighter, fluffier, and designed for small roots.
Before filling trays, moisten the mix. It should feel damp like a wrung-out sponge, not muddy or dripping wet.
To prepare the mix:
- Pour seed starting mix into a bucket.
- Add lukewarm water slowly.
- Mix with your hands or a small tool.
- Wait a few minutes so the mix absorbs moisture.
- Fill the trays gently.
- Tap lightly to settle, but do not pack it hard.
Do not press the mix too tightly into the cells. Young roots need air as well as moisture.
A good seed starting mix makes a big difference because it gives seeds the right balance of moisture, drainage, and air.
Step 3: Plant Seeds at the Right Depth
Seed depth matters. If seeds are planted too deep, they may struggle to reach the surface. If they are planted too shallow, they may dry out.
A common rule is to plant seeds about twice as deep as the seed is wide. Tiny seeds may need only a light covering, and some seeds need light to germinate.
Always check the seed packet because it usually tells you:
- Planting depth
- Days to germination
- Indoor starting time
- Spacing
- Light needs
- Transplant timing
After planting, gently press the mix so the seed has good contact with the moist growing medium.
Label every tray right away with plant labels. Many seedlings look similar when they first sprout, and it is easy to forget what you planted.
Step 4: Keep Seeds Warm and Moist
Seeds need consistent moisture to germinate. They should not dry out after they begin absorbing water.
Cover the trays with a humidity dome or loose plastic cover until sprouts appear. This helps hold moisture around the seeds.
Keep the growing medium warm, but not hot. Many seeds germinate well around 65°F–75°F. Heat-loving crops like peppers and eggplants often germinate better with extra warmth.
A seedling heat mat can help warm the growing medium, especially if your home is cool. It is most useful for peppers, tomatoes, eggplants, and other warm-season crops.
Check trays daily. If the surface is drying out, mist gently or water from the bottom. The mix should stay moist, not soggy.
As soon as seedlings sprout, remove the humidity dome or plastic cover. Leaving it on too long can trap too much moisture and reduce airflow.
Step 5: Give Seedlings Enough Light
Light is where many beginners struggle.
A sunny window often seems like enough, but most seedlings need stronger, more consistent light than a window can provide. Without enough light, seedlings stretch toward the light and become tall, thin, and weak.
Use grow lights for seedlings if possible. Keep the lights close to the seedlings, but not touching the leaves. Raise the lights as the plants grow.
A simple setup can include:
- LED grow light
- Shelf or table
- Timer
- Seed trays
- Water-tight tray underneath
Most seedlings grow well with about 12–16 hours of light per day. A timer makes this easier because you do not have to remember to turn lights on and off.
Good light creates short, sturdy, healthy seedlings.
Step 6: Water Carefully
Watering is one of the most important parts of seed starting indoors.
Seedlings need steady moisture, but too much water can cause problems. Wet soil, low light, and poor airflow can lead to damping off, a disease that can make seedlings collapse.
Water when the top of the mix begins to dry slightly. Do not let seedlings wilt, but do not keep the mix constantly soaked.
Good watering habits include:
- Use room-temperature water
- Water gently
- Avoid washing seeds out of place
- Water from the bottom when possible
- Empty standing water from trays
- Keep leaves mostly dry
- Check trays daily
Bottom watering is often helpful. Pour water into the base tray and let the mix absorb moisture through the drainage holes. After a short time, remove extra water so the roots are not sitting in it.
A small spray bottle or gentle watering can can help prevent disturbing tiny seedlings.
Step 7: Add Airflow and Prevent Weak Seedlings
Indoor seedlings grow in protected conditions. Without airflow, they can become soft and weak.
A small fan set on low can help strengthen stems and improve air circulation. Do not aim strong wind directly at the seedlings. Gentle movement is enough.
Airflow helps reduce moisture sitting around the plants and can lower the risk of disease.
You can also gently brush your hand over seedlings once or twice a day to encourage stronger stems. This should be done lightly, not roughly.
Strong seedlings are usually:
- Short and sturdy
- Deep green
- Upright
- Not stretched
- Not yellowing
- Not crowded
- Growing steadily
If seedlings are leaning, stretching, or falling over, they usually need more light.
Step 8: Thin Seedlings
If more than one seed sprouts in a cell, you may need to thin them.
Thinning means removing extra seedlings so the strongest one has enough space to grow.
It can feel wasteful, but overcrowded seedlings compete for light, water, and nutrients. They also have less airflow and may become weak.
To thin seedlings:
- Wait until seedlings have started growing well.
- Choose the strongest seedling in each cell.
- Snip the weaker seedlings at soil level with small scissors.
- Do not pull if roots are tangled.
Snipping is safer than pulling because it avoids disturbing the roots of the seedling you want to keep.
Step 9: Pot Up Seedlings When Needed
Some seedlings need to be moved into larger pots before going outside. This is called potting up.
Tomatoes, peppers, eggplants, and long-season crops may need more room if they outgrow their starter cells.
Signs seedlings need potting up include:
- Roots circling the bottom of the cell
- Seedlings drying out very quickly
- Plants becoming top-heavy
- Growth slowing down
- Leaves crowding each other
Move them into a slightly larger container with good potting mix. Do not jump from a tiny cell into a huge pot. A moderate increase in size is usually better.
Tomatoes can be planted deeper when potted up because they can grow roots along the buried stem. Most other seedlings should be planted at the same depth they were growing before.
Step 10: Harden Off Seedlings Before Transplanting
Seedlings grown indoors are not ready to go straight into the garden. They need time to adjust to outdoor sun, wind, and temperature changes.
This process is called hardening off.
Start hardening off seedlings about 1–2 weeks before transplanting.
A simple hardening-off schedule:
- Day 1–2: Place seedlings outside in shade for 1–2 hours.
- Day 3–4: Increase outdoor time in a protected spot.
- Day 5–6: Add gentle morning sun.
- Day 7–10: Increase sun and outdoor exposure gradually.
- Final days: Leave outside longer if weather is mild.
Bring seedlings inside at night if temperatures are too cold or conditions are windy. Do not put tender seedlings outside during cold, harsh, or stormy weather.
Hardening off helps prevent transplant shock. Skipping this step can cause leaves to scorch, wilt, or turn white from sudden exposure.
Once seedlings are hardened off and the weather is right, transplant them into the garden, containers, or raised beds.
Beginner Seed Starting Schedule
Here is a simple example schedule for warm-season crops:
| Task | Timing |
|---|---|
| Choose seeds | 10–12 weeks before last frost |
| Start peppers and eggplants | 8–10 weeks before last frost |
| Start tomatoes and basil | 6–8 weeks before last frost |
| Start cucumbers or squash | 3–4 weeks before transplanting |
| Harden off seedlings | 1–2 weeks before planting outside |
| Transplant outside | After frost risk has passed |
For cool-season crops like lettuce, cabbage, broccoli, and kale, timing may be different because they can often handle cooler outdoor conditions.
Always adjust timing based on your local climate.
Common Seed Starting Mistakes to Avoid
Starting Seeds Too Early
This is one of the most common beginner mistakes. Starting too early can leave you with large, stressed seedlings before the garden is ready.
Not Using Enough Light
Weak, leggy seedlings usually need stronger light. A bright window is often not enough.
Overwatering
Seedlings need moisture, but soggy soil can cause disease and poor root growth.
Using Garden Soil Indoors
Garden soil can be too heavy for trays and may carry pests or disease. Use seed starting mix.
Forgetting Labels
Seedlings can look almost identical. Label everything as soon as you plant.
Leaving the Humidity Dome on Too Long
Remove the cover once seeds sprout to improve airflow.
Skipping Hardening Off
Indoor seedlings need time to adjust before transplanting outside.
Planting Too Deep
Seeds planted too deep may not sprout well. Follow seed packet instructions.
Not Thinning Seedlings
Crowded seedlings become weak and compete for space.
Best Seeds for Beginners to Start Indoors
If you are new to seed starting, begin with easy, reliable crops.
Good beginner choices include:
- Tomatoes
- Basil
- Lettuce
- Kale
- Marigolds
- Zinnias
- Calendula
- Broccoli
- Cabbage
Peppers and eggplants are also worth growing, but they can be slower to germinate and may need more warmth.
If you want the easiest success, start with basil, tomatoes, lettuce, and marigolds. They grow quickly enough to keep you motivated and are useful in the garden.
For a small but beautiful outdoor space, combine your seedlings with small garden design tips so your plants, containers, paths, and seating work together instead of feeling crowded.
FAQ About Seed Starting Indoors
What is seed starting indoors?
Seed starting indoors means planting seeds inside your home before the outdoor growing season begins. Once the seedlings are strong enough and the weather is right, they are transplanted outside.
What is the best mix for starting seeds indoors?
Use a light seed starting mix, not heavy garden soil. Seed starting mix holds moisture while allowing drainage and air around young roots.
Do I need grow lights for seed starting indoors?
Grow lights are strongly recommended. A sunny window is often not enough for strong seedlings, especially for vegetables like tomatoes and peppers.
How long should grow lights stay on?
Most seedlings do well with about 12–16 hours of light per day. Use a timer to keep the schedule consistent.
How often should I water seedlings?
Water when the seed starting mix begins to dry slightly on the surface. Keep it moist but not soggy.
Why are my seedlings tall and thin?
Tall, thin seedlings usually need more light. Move grow lights closer or provide stronger light.
When should I start seeds indoors?
Check your seed packet. Many vegetables are started 4–10 weeks before the last frost date, depending on the crop.
Can I start seeds indoors without a greenhouse?
Yes. You can start seeds indoors with trays, seed starting mix, grow lights, water, labels, and a small shelf or table.
When should I transplant seedlings outside?
Transplant seedlings outside after they are hardened off and outdoor conditions are suitable for that crop. Warm-season crops should not go outside until frost danger has passed.
What is hardening off?
Hardening off is the process of gradually exposing indoor seedlings to outdoor conditions before transplanting. It helps reduce shock from sun, wind, and temperature changes.
Conclusion
Seed starting indoors is a simple skill that can make your garden more productive, affordable, and personal. Instead of depending only on store-bought plants, you can choose your own varieties, start earlier, and grow strong seedlings from the beginning.
Start with the basics: clean trays, seed starting mix, good seeds, steady moisture, strong light, and labels. Keep the mix moist but not soggy. Remove the humidity cover when sprouts appear. Give seedlings enough light, thin them when needed, pot them up if they outgrow their trays, and harden them off before transplanting outdoors.
You do not need to start every seed indoors. Begin with a few easy crops like tomatoes, basil, lettuce, and marigolds. Once you gain confidence, you can add peppers, eggplants, flowers, herbs, and more vegetables to your seed starting routine.
A few trays of seedlings on a shelf can become the beginning of a beautiful garden, a productive raised bed, or a small-space homestead.
Want more beginner-friendly gardening guides, seed starting tips, and practical homesteading ideas? Subscribe to the Dreamsteading newsletter and get simple seasonal guides sent straight to your inbox.